

Strip Lashes 101: Everything Beginners Need to Know
Disclosure: Some of the links in this post are affiliate links. This means if you click on the link and purchase an item, I will receive an affiliate commission at no extra cost to you.
Your first pair of false lashes can look surprisingly intimidating once you open the package. The strip may seem too long, the band may feel awkward, and getting both eyes to match can quickly turn a simple makeup routine into a frustrating experiment.
Strip Lashes become much easier once you understand what actually matters. You do not need perfect makeup skills or years of practice to create a beautiful lash look. A little preparation, the right lash shape, and a simple application routine can make a noticeable difference. Even better, you can choose from natural, wispy, fluffy, dramatic, and lightweight styles depending on the look you want.
Beginners often focus on the lashes themselves, but the band, adhesive, eye shape, trimming technique, and placement can matter just as much. Knowing these small details can help you avoid crooked corners, uncomfortable bands, and lashes that lift halfway through the day.
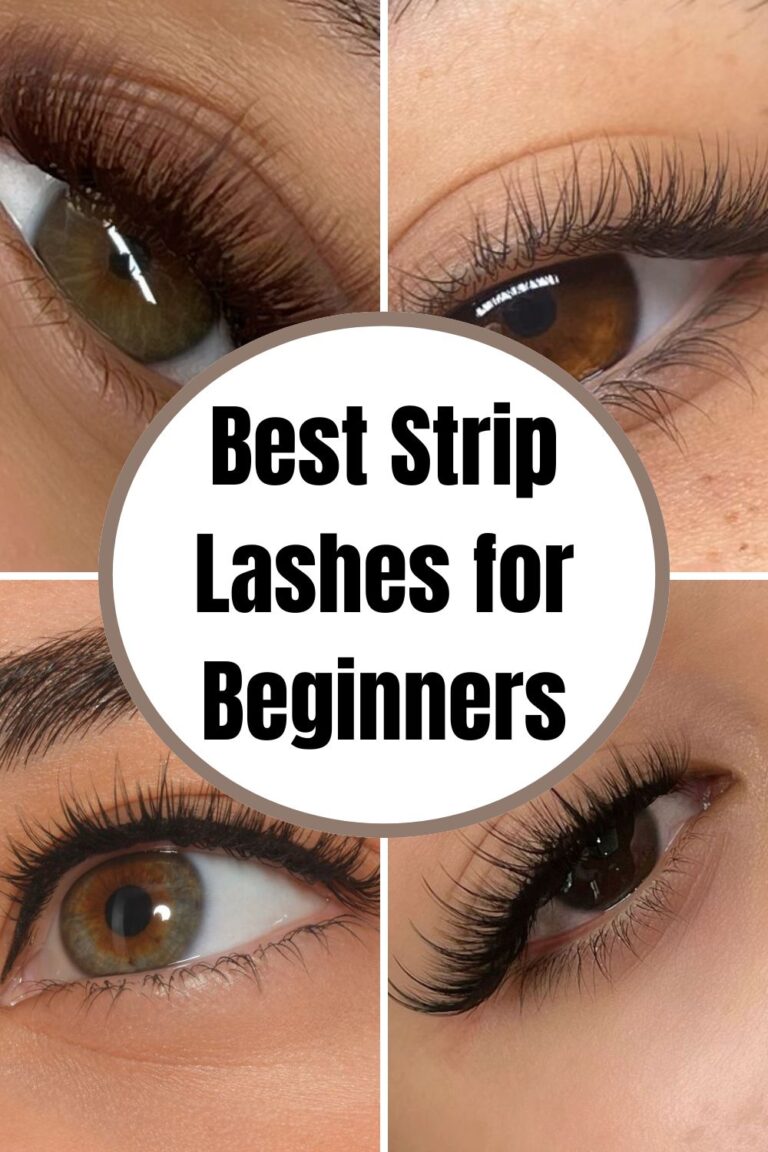
If you are completely new to false lashes, 12 Best Strip Lashes for Beginners is a helpful place to explore beginner-friendly styles before choosing your first pair.
This guide breaks down the basics you need to know, from choosing and trimming your lashes to applying, wearing, removing, and caring for them confidently.
Getting Started With Strip Lashes
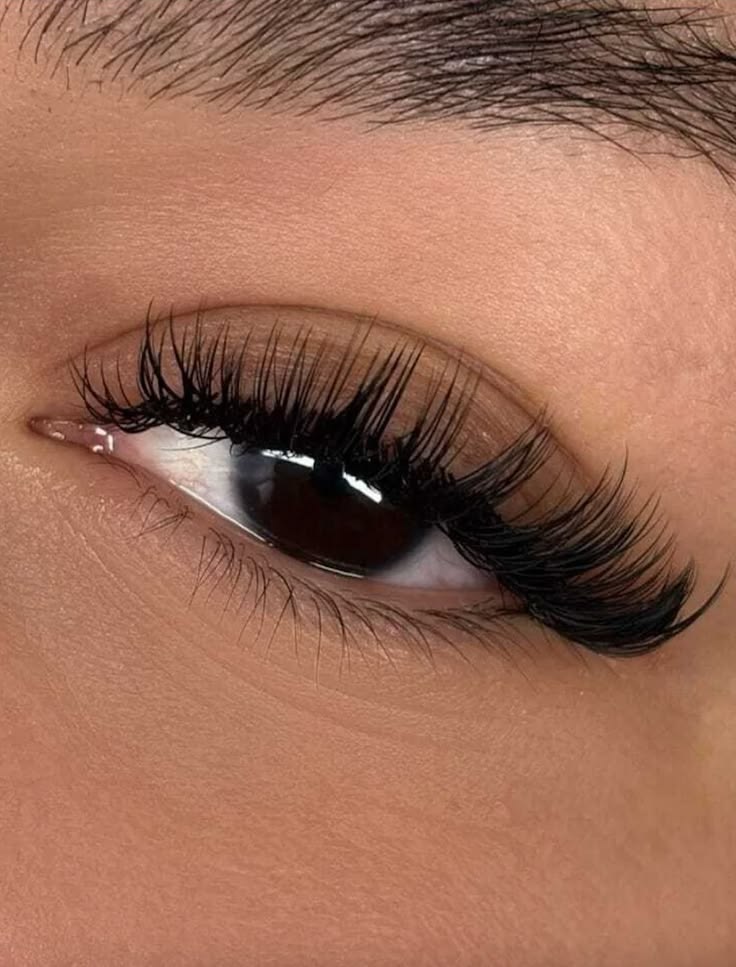
Starting with strip lashes can feel awkward, especially when the first application refuses to cooperate. One corner lifts, the band sits too far from your lash line, and suddenly your two eyes look completely different.
Fortunately, you can make the process much easier with a few simple techniques. Strip lashes give you plenty of freedom because you can change your look whenever you want. Natural pairs work for everyday makeup, while fuller designs can transform a simple evening look. You can also experiment with different lengths, curls, textures, and shapes without committing to professional lash extensions.
Before choosing a pair, think about your eye shape, makeup style, comfort level, and the occasion. A beginner usually benefits from a flexible, lightweight design rather than an extremely long or dense pair.
For a closer look at professional alternatives, Classic Lash Extensions for Beginners: Everything You Need to Know explains how classic extensions differ from temporary strip lashes.
Now, let’s break down everything you need to know before applying your first pair.
1. What Are Strip Lashes?
Strip lashes are temporary false eyelashes that sit along your natural lash line. Unlike individual extensions, a strip lash comes as one connected piece. You apply adhesive along the band, allow it to become tacky, and place the strip close to your natural lashes.
You can remove strip lashes after wearing them for the day. That temporary nature makes them convenient for beginners. You can also keep several styles in your makeup collection and choose one based on your mood.
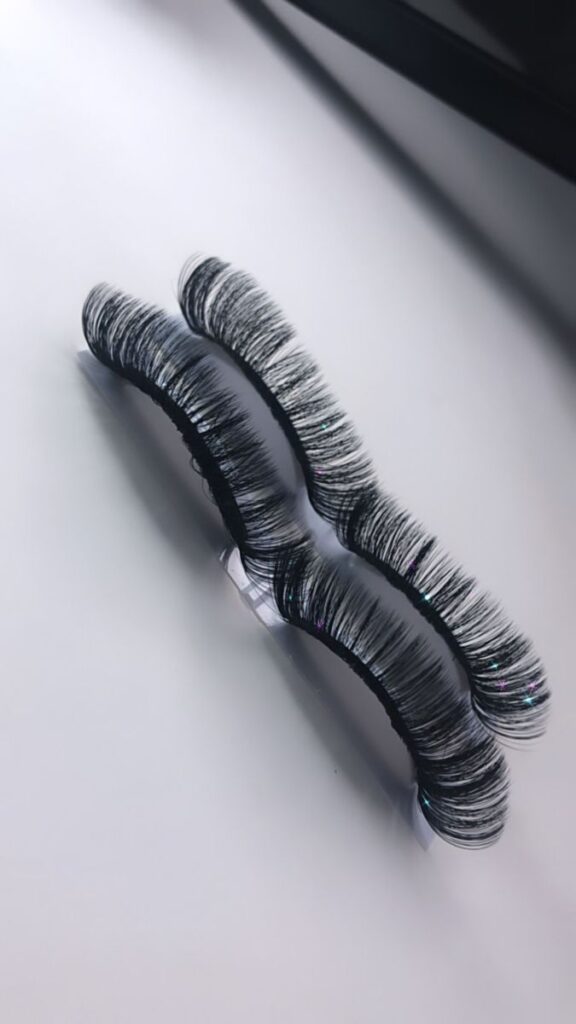
How They Differ From Lash Extensions
Professional extensions involve attaching individual extensions to natural lashes. Strip lashes follow a much simpler process.
You apply them when you want extra definition, then remove them carefully afterward. Professional extensions require appointments, maintenance, fills, and specialized aftercare. Your choice depends on the kind of routine you prefer.
2. Choose the Right Lash Style
Your first pair should not necessarily look like the most dramatic pair on the shelf. Instead, choose a style that matches your comfort level and makeup habits.
Natural lashes create subtle definition. Wispy designs add texture, while volume styles create a fuller appearance.
If you want everyday inspiration, 10 Natural Classic Lash Extension Ideas for Everyday Wear offers ideas for softer lash looks.
Natural Strip Lashes
Natural styles usually feature shorter fibres and more spacing. They work beautifully with minimal makeup. Try them with tinted moisturizer, soft blush, brushed brows, and a neutral lip.
Wispy Strip Lashes
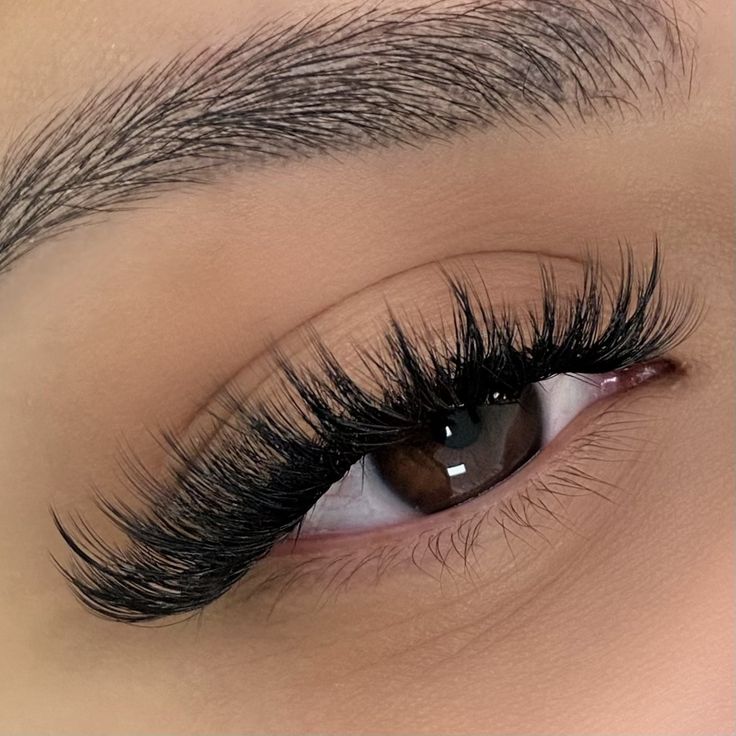
Wispy lashes combine different lengths to create an airy appearance. They can add noticeable definition without creating a dense, heavy effect.
For more inspiration, explore 25 Wispy Lash Extension Ideas for a Soft Glam Look.
Volume Strip Lashes
Volume styles create a bolder finish. However, you can still find lightweight versions that use finer fibres. For professional inspiration, Volume Lash Extensions: What Makes Them Different? explains what creates a fuller lash effect.
You can also browse 20 Volume Lash Ideas for a Full, Fluffy Look for more dramatic ideas.
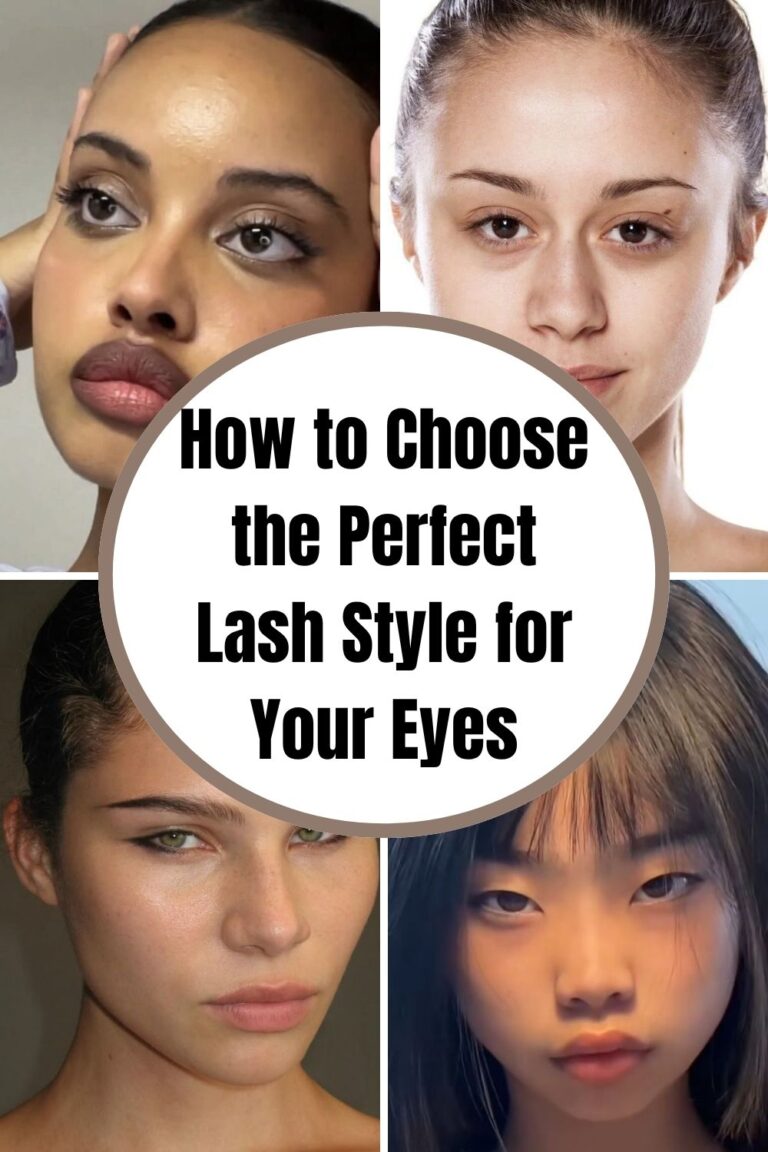
3. Understand Your Eye Shape
Eye shape can change how a lash style looks once you apply it. A lash that looks beautiful on one person may create a completely different effect on another.
Almond Eyes
Almond-shaped eyes usually work well with many lash designs. You can experiment with natural, wispy, cat-eye, and volume styles.
Round Eyes
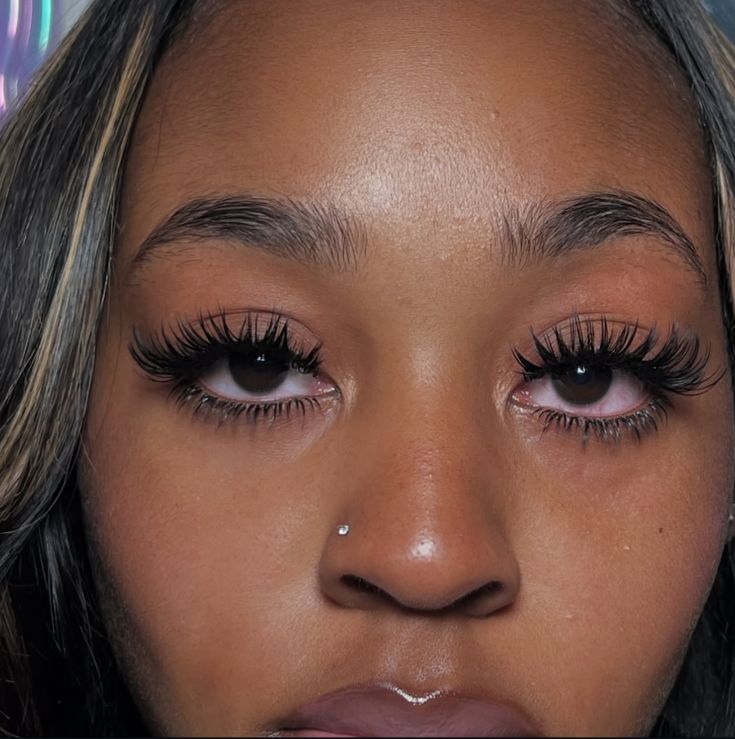
Longer outer corners can create a more elongated appearance. A flared lash can balance the roundness and add a lifted effect.
Hooded Eyes
Hooded eyes often benefit from lashes that create visible lift without excessive weight. Avoid choosing a style simply because it looks dramatic in the package. Instead, consider how the fibres will sit when your eyes remain open.
For professional inspiration, see 15 Classic Lash Extensions for Hooded Eyes.
4. Classic, Hybrid, and Volume Looks
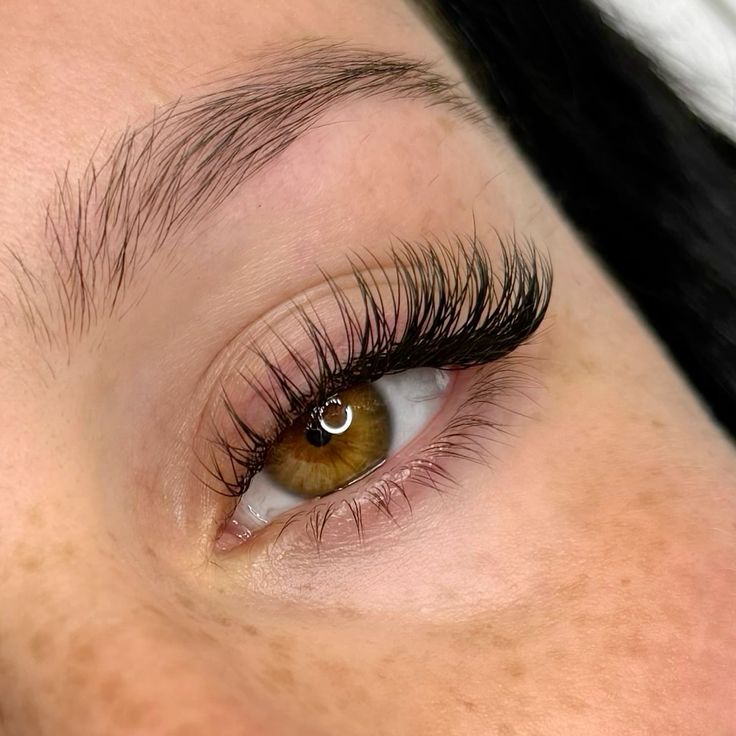
Understanding different lash categories can help you shop with more confidence. Classic styles focus on individual-looking definition. Hybrid styles combine softer and fuller elements.
Volume styles create a much fuller appearance. If you are unsure about the difference, Classic vs Hybrid Lashes: Which Looks More Natural? can help you compare the overall effect.
For another perspective, Hybrid Lash Extensions Explained: The Perfect Mix of Natural and Glam explains how mixed textures create dimension.
5. Understand Lash Bands
The band holds the entire strip together. Therefore, its construction can make a major difference in comfort and application.
Clear Bands
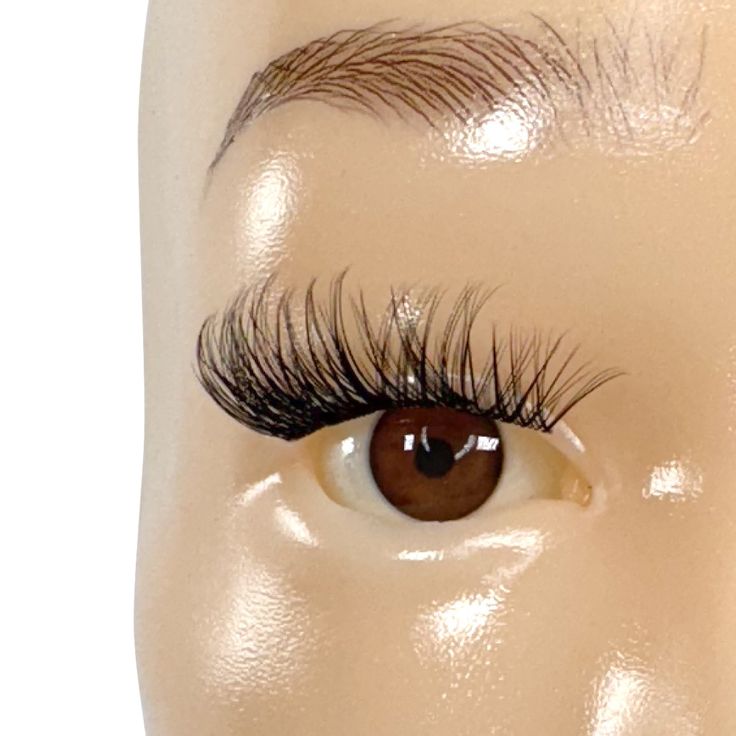
Clear bands create a more subtle appearance. They work especially well when you want to skip heavy eyeliner.
Black Bands
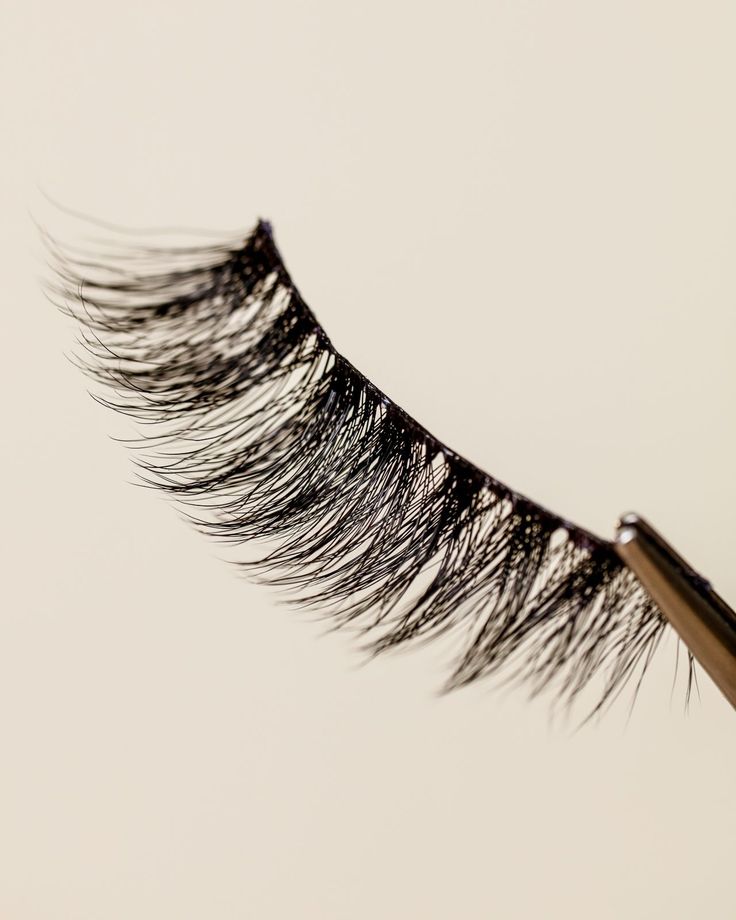
Black bands can create extra definition along your lash line. They can also make eyeliner look more dramatic.
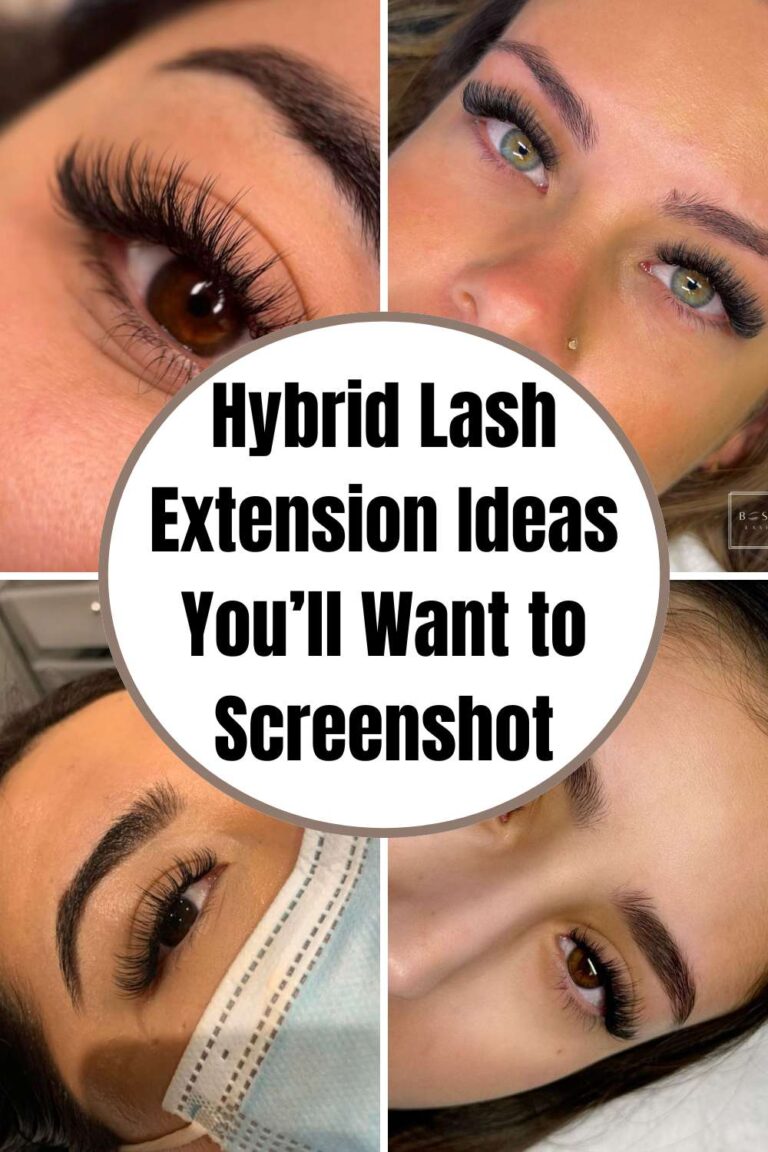
You can then explore 15 Hybrid Lash Extension Ideas You’ll Want to Screenshot for visual inspiration.
Thin Bands
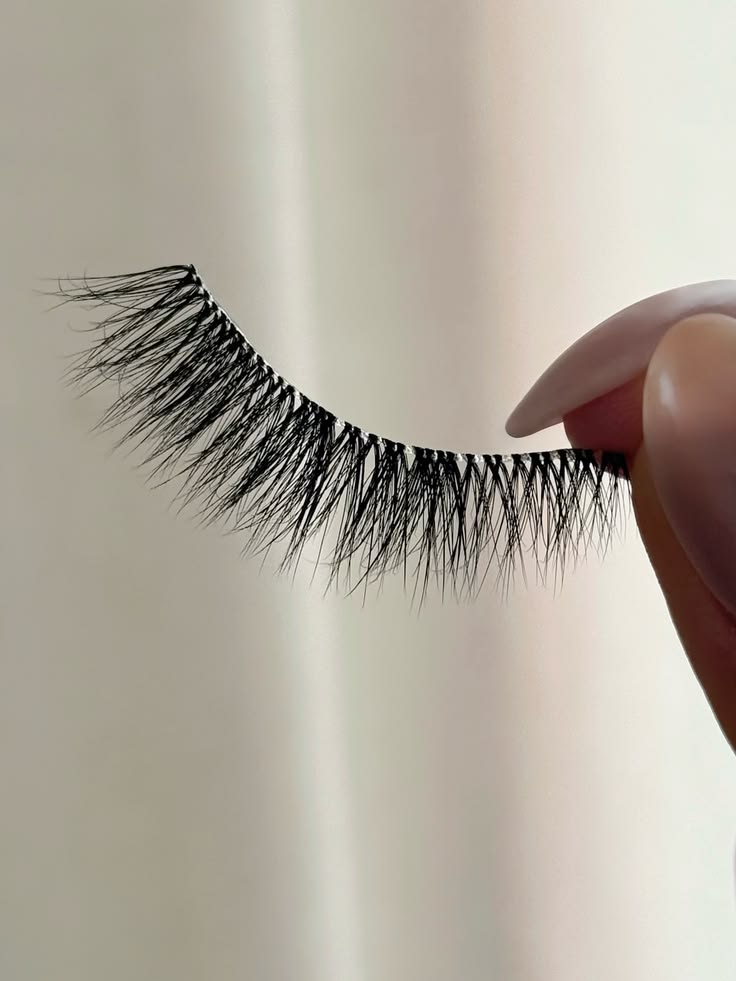
Thin bands often feel easier for beginners. They can bend around the curve of your eyelid with less effort. A flexible band also helps prevent the uncomfortable feeling that comes from a rigid strip.
6. Measure Before You Apply
Never assume the lash strip will fit your eye perfectly. Place it against your natural lash line before applying adhesive. Check the inner and outer corners. If the strip extends beyond your outer corner, trim it.
Where Should You Trim?
Trim from the outer edge rather than the inner edge. The inner corner usually contains shorter fibers that create a more natural transition. Remove only a small amount at a time. You can always trim more, but you cannot put the fibres back.
7. Gather Your Lash Supplies
You do not need a huge collection of tools. A few basic items can make the process much easier.
Your Beginner Lash Kit
Keep these nearby:
- Strip lashes
- Lash adhesive
- Small lash scissors
- Tweezers
- Lash applicator
- Compact mirror
- Eyeliner
- Mascara
Choose tools that feel comfortable in your hands. A steady application matters more than having expensive equipment.
8. Apply Your Eye Makeup First
Complete most of your eye makeup before applying the strip. Eyeshadow can create powdery residue around your lash line. Eyeliner can also make the band easier to blend.
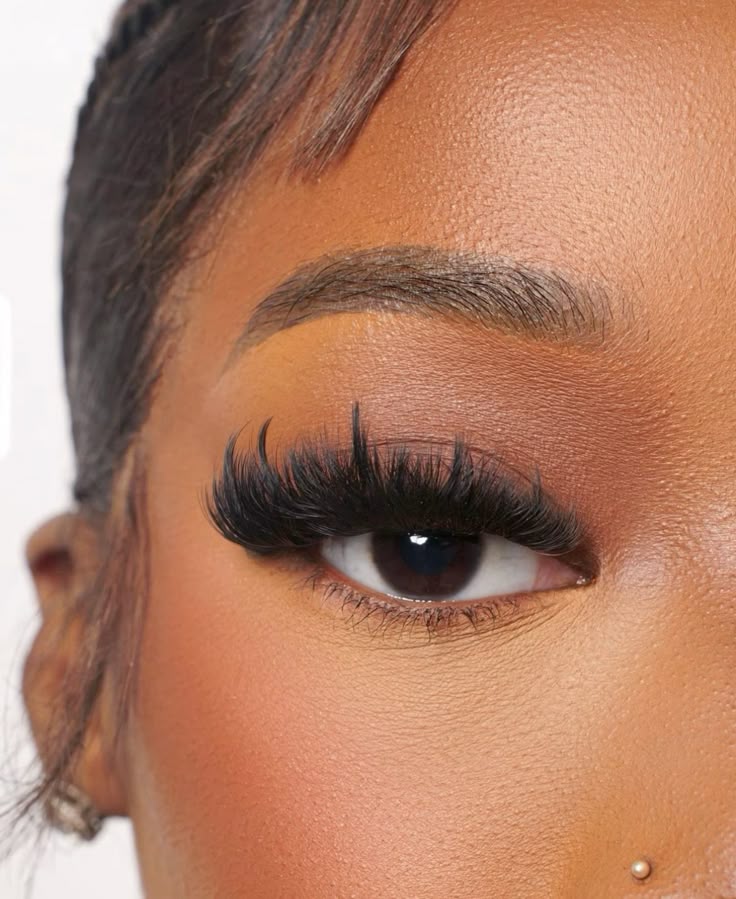
A Simple Order
Start with your eyeshadow. Then apply eyeliner. Curl your natural lashes if you normally use a curler. Next, apply a light coat of mascara if your routine calls for it.
Finish with the strip lash. This order helps you avoid disturbing the false lash later.
9. Apply a Thin Layer of Adhesive
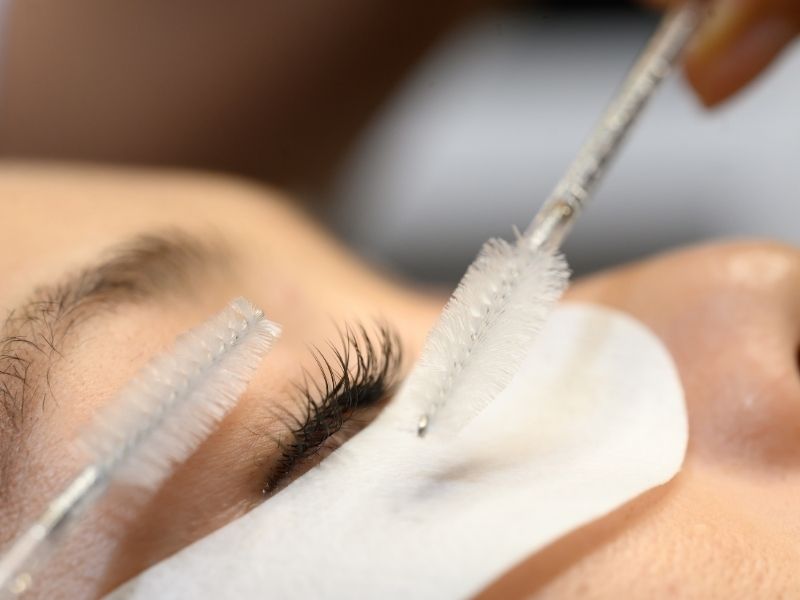
Too much glue can make application messy. A thin, even line usually gives you better control. Apply the adhesive directly along the lash band. Then wait several seconds. The glue should become tacky rather than remain completely wet.
Why Tacky Glue Helps
Wet adhesive can slide around easily. Tacky adhesive gives you enough grip to position the strip accurately. That small waiting period can make a major difference for beginners.
10. Place the Lash Correctly
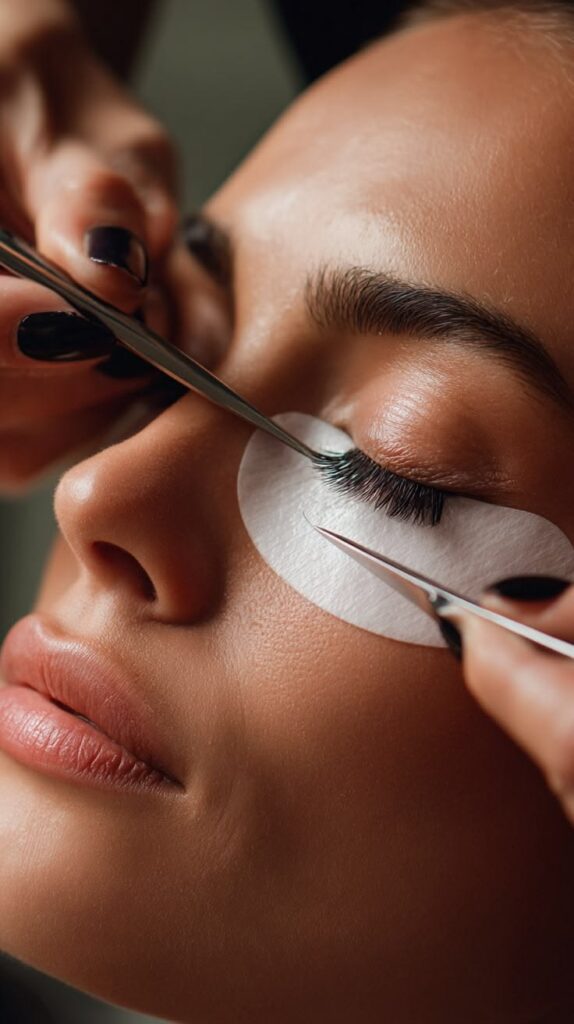
Look slightly downward into a mirror. Position the center of the lash first. Then secure the outer corner. Finish by pressing down the inner corner.
Keep the Strip Close
Place the lash as close to your natural lash line as possible. Do not place it directly on the sensitive inner waterline. The goal involves creating the appearance of one continuous lash line.
If the strip sits too high, people may notice the gap. If you place it too low, the lash can feel uncomfortable.
11. Give the Adhesive Time to Set
Once the lash sits correctly, avoid touching it repeatedly.
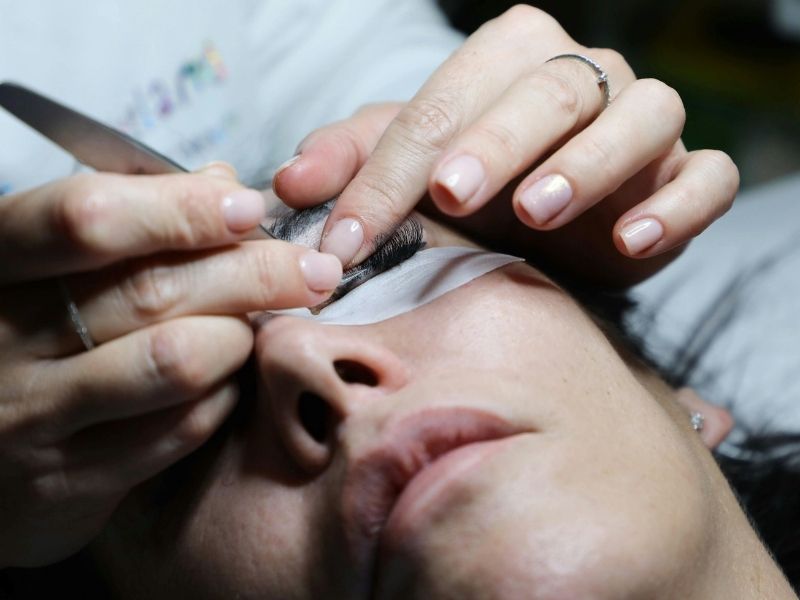
Let the adhesive settle. You can gently press the false lash against your natural lashes once everything feels secure.
Blend the Lashes
A lash applicator can help you gently bring your natural and false lashes together. Avoid squeezing too aggressively. You want the two layers to look connected without damaging your natural lashes.
12. Add Eyeliner When Needed
Eyeliner can hide small imperfections along the lash band. A thin black line works well with black-band lashes. Brown liner creates a softer effect. Clear-band lashes may require less liner because the band already looks subtle.
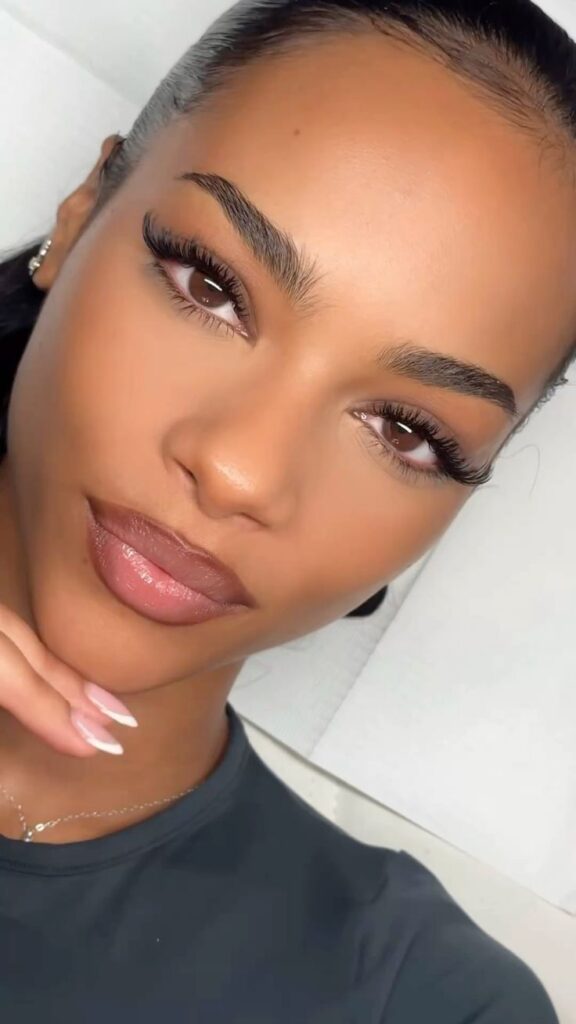
Create a Cat-Eye Effect
Extend your eyeliner slightly beyond the outer corner. Then choose a flared strip. The combination can make your eyes appear longer and more lifted.
13. Try Wet-Look Styles
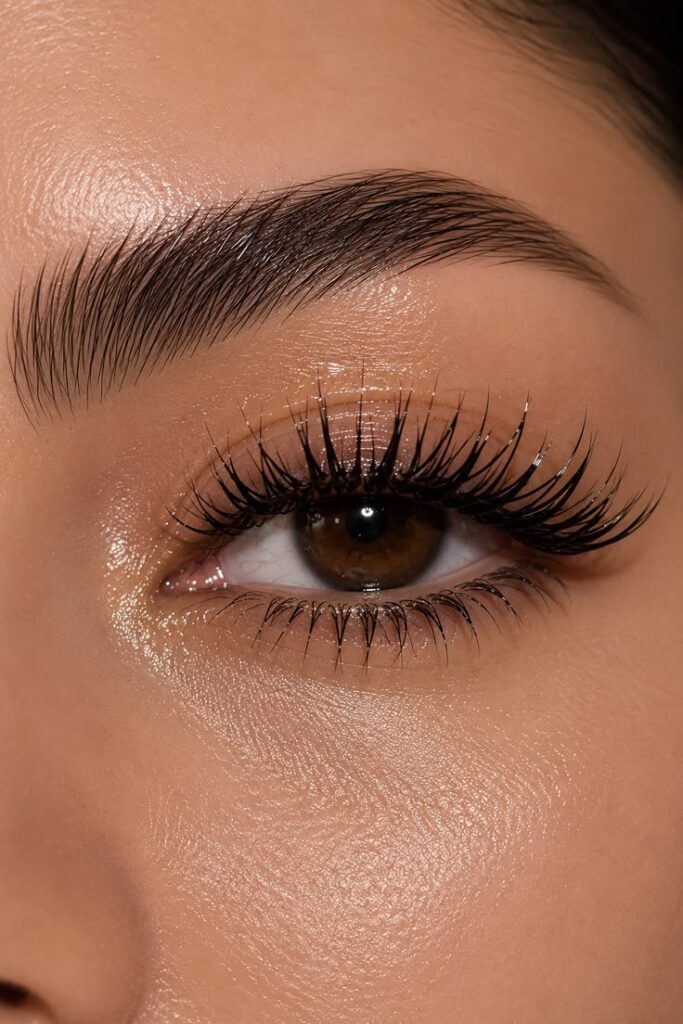
Wet-look lashes offer a different finish from fluffy or wispy styles. They use separated, defined spikes instead of soft, feathered volume. For more information about the trend, check out What Are Wet Look Lash Extensions?.
If you are choosing between the two popular finishes, Wet Look vs Wispy Lashes: Which Trend Is Right for You? can help you decide. Wet-look strip lashes can work particularly well with clean makeup. Keep your eyeshadow simple and let the defined lashes create the focus.
How Long Can You Wear Strip Lashes?
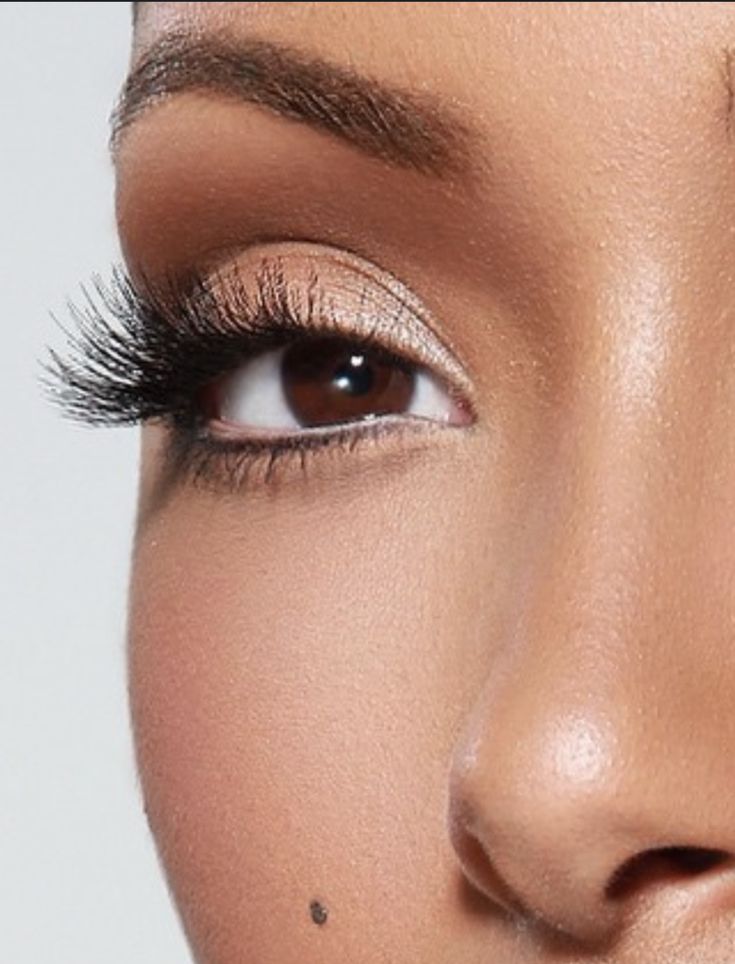
Strip lashes usually work as temporary makeup. Most people apply them for a specific day or event and remove them afterward.
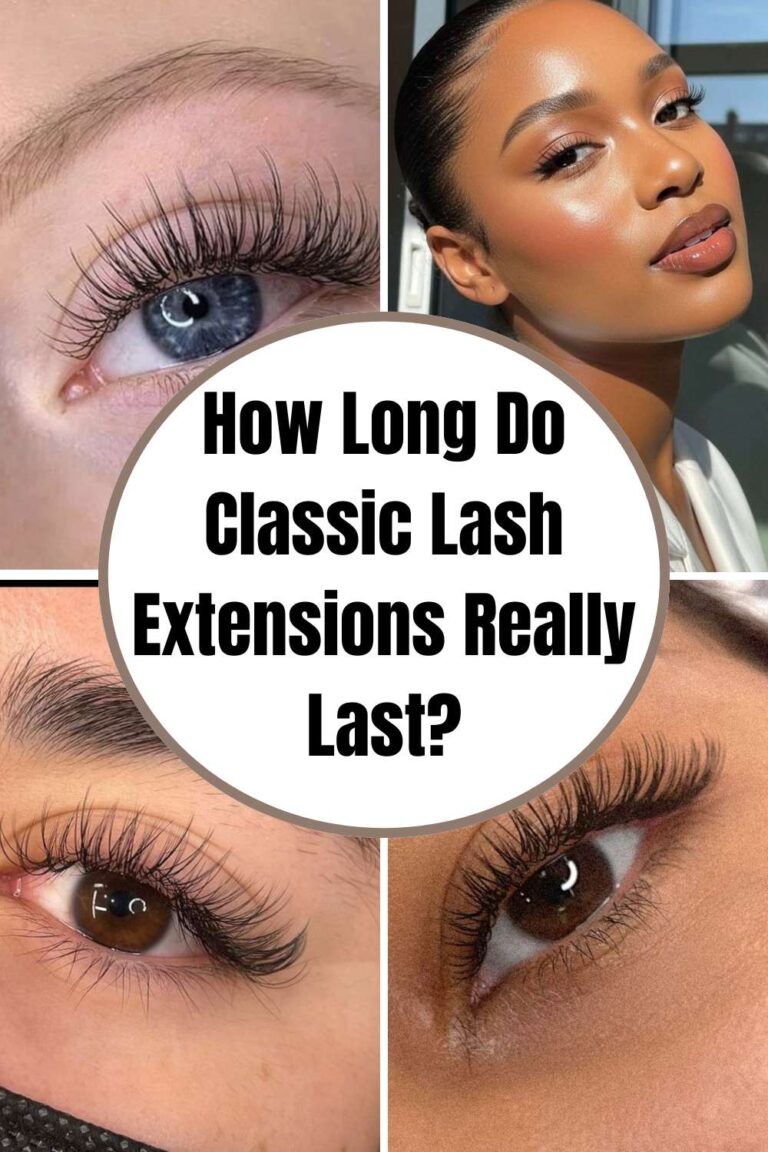
Do not treat strip lashes like professional extensions. Professional extensions remain attached through your natural lash cycle. How Long Do Classic Lash Extensions Really Last? explains why extensions eventually shed. Strip lashes, meanwhile, give you much more control because you decide when to apply and remove them.
Avoid Common Beginner Mistakes
Small mistakes can make your lashes look uneven or feel uncomfortable.
Skipping the Measuring Step
An oversized strip can lift at the corners. Always check the fit before adding glue.
Applying Too Much Adhesive
Excess glue creates mess and makes positioning harder. Use a thin line instead.
Applying Immediately After Adding Glue
Wet glue tends to move. Give it time to become tacky.
Placing the Lash Too Far From Your Lash Line
A visible gap can make the lash look disconnected. Move it closer while the adhesive remains workable.
Pulling the Lash Off Quickly
Fast removal can tug your natural lashes. Instead, loosen the strip gently from the outer corner.
Strip Lashes vs Lash Extensions
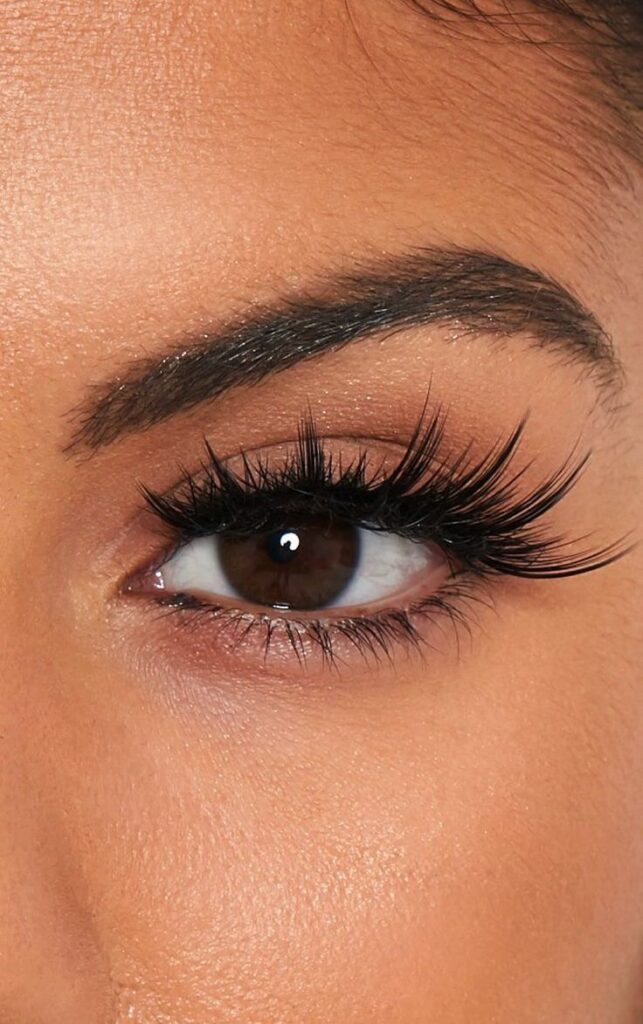
Both options can enhance your eyes, but they serve different purposes. Strip lashes suit people who want temporary flexibility.
Extensions work better for people who want a longer-term lash enhancement with professional maintenance. Professional extensions also require regular appointments.
For example, How Often Should You Get a Lash Fill? explains why clients schedule regular fills.
You can also learn about maintenance differences through Lash Fill vs Full Set: What’s the Difference?. Neither option works as the universal winner. Your lifestyle should guide your choice.
How to Remove Strip Lashes
Removal deserves just as much attention as application. Start at the outer corner. Gently loosen the band with your fingertips. Then slowly peel the strip toward the inner corner.
You can also explore 10 Best Drugstore Strip Lashes That Look Expensive if you want an affordable option
Never Yank the Strip
Pulling quickly can take natural lashes with it. If the adhesive feels stubborn, give it more time to loosen. Once removed, clean any remaining adhesive from the band before storing the lashes.
How to Make Strip Lashes Look Natural
Natural-looking lashes usually depend on blending. Choose a style that complements your natural lash length. Then apply the strip close to your lash line.
Keep the Inner Corner Light
A shorter inner corner can make the lash look more realistic. You can also use half lashes when you want subtle outer-corner definition.
Match Your Natural Lashes
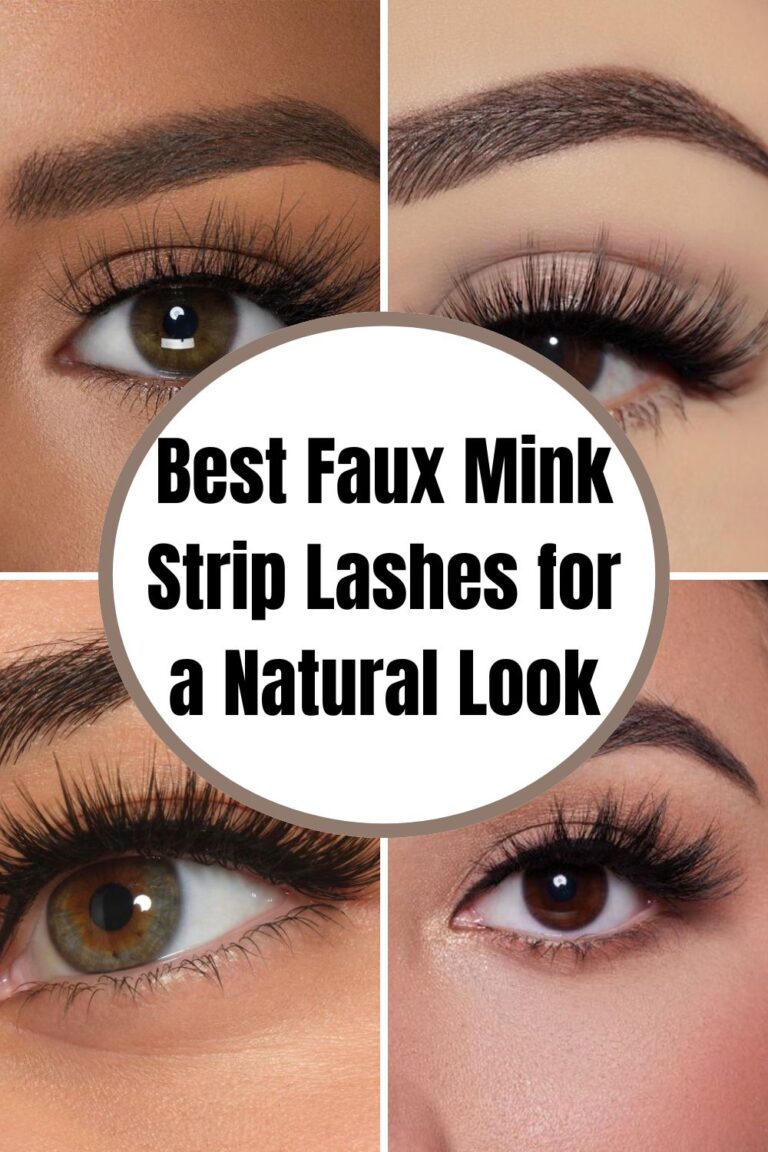
A thin coat of mascara can help connect your natural lashes with the false fibres. However, avoid piling on unnecessary product. The more seamless the transition, the more believable the final result For a wider range of options, browse 25 Best Strip Lashes for Every Makeup Style..
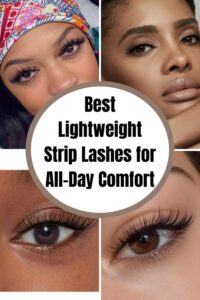
Choose Lightweight Lashes for Long Days
Long events require extra attention to comfort. A heavy lash can become distracting after several hours. Lightweight fibers and flexible bands usually create a more comfortable experience.
Great Occasions for Lightweight Lashes
Consider them for:
- Weddings
- Work events
- Birthday parties
- Date nights
- Photoshoots
- Travel days
- Long dinners
The goal should always involve enhancing your eyes without making you constantly aware of the lashes. Beginners who want to experiment with premium designs can explore 10 Best Luxury Strip Lashes Worth the Splurge.
Be Careful With Water and Steam
Strip lashes differ from professional extensions, but water can still affect adhesive. Avoid deliberately soaking your lashes. Steam can also loosen some adhesives.
If you want to understand water-related lash care for extensions, Can You Shower With Lash Extensions? provides helpful information.
Protect Your Natural Lashes
Your natural lashes still deserve gentle care. Avoid pulling at them. Take your time during removal. Give your lashes breaks from heavy makeup when convenient.
For professional extension aftercare, Lash Extension Aftercare: The First 24 Hours Matter covers important early-care considerations.
Avoid Excessive Rubbing
Rubbing your eyes can disturb both natural and false lashes. It can also irritate the delicate skin around your eyes. If you wear professional extensions, careless habits can affect retention too.
Check 10 Mistakes That Make Lash Extensions Fall Out Faster for common mistakes worth avoiding.
Store Your Lashes Properly
Good storage can help reusable lashes maintain their shape. Place them back into a clean lash tray after removal. Keep the container somewhere dry and protected. Do not leave loose lashes inside your makeup bag. That environment can bend the fibers and collect makeup residue.
Build Your Beginner Lash Routine
Your routine does not need to become complicated. Start by measuring the lash. Trim it if necessary. Apply your eye makeup.
Add a thin adhesive layer. Wait until the glue becomes tacky. Place the centre first. Secure both corners. Then blend the natural and false lashes. Finally, check both eyes from different angles.
Final Thoughts
Strip lashes can completely transform a makeup look once you understand the basics. The secret does not involve finding the most dramatic pair available. Instead, focus on fit, comfort, eye shape, band flexibility, and the finish you actually want.
Natural lashes can give you subtle everyday definition. Wispy designs add soft texture. Cat-eye styles create lift. Volume pairs deliver more drama.
Meanwhile, lightweight designs can help you stay comfortable during long days. Beginners should also remember that application improves with practice. Your first attempt may not look perfect, and that does not mean you cannot master the technique.
Start with a simple style. Measure before applying. Use a thin adhesive layer. Wait for tackiness. Place the strip carefully. Remove it gently.
With those habits, Strip Lashes can become one of the easiest ways to change your makeup whenever you want a little extra definition.
4 Comments