

Common Strip Lash Mistakes and How to Avoid Them
Disclosure: Some of the links in this post are affiliate links. This means if you click on the link and purchase an item, I will receive an affiliate commission at no extra cost to you.
The first time strip lashes look uneven, most people blame the lashes. Yet the problem often starts before the adhesive even touches the band. A tiny sizing mistake, the wrong placement, or a rushed application can completely change how the finished look appears. That makes Strip Lash Mistakes worth understanding before your next application.
You might choose a beautiful pair, follow the instructions, and still end up with lifted corners or an uncomfortable band. Fortunately, most common problems have simple fixes once you know what to watch for. A few changes to your preparation can also make your lashes look more natural and stay comfortable for longer.
Your lash style matters, too. A dramatic pair requires a different approach from a delicate everyday design. If you are still deciding which style suits your makeup routine, 25 Best Strip Lashes for Every Makeup Style can help you compare different looks.
This guide breaks down the mistakes that can make strip lashes look crooked, bulky, obvious, or uncomfortable. You’ll also learn practical ways to correct each problem and make your next application much smoother.
Before You Apply: Set Yourself Up for a Better Lash Day
A beautiful pair of strip lashes can still look wrong when small application mistakes get in the way. The band may sit too high, the corners may lift, or one eye may suddenly look completely different from the other.
Thankfully, most Strip Lash Mistakes come from a few simple habits that you can change.
Your preparation matters just as much as your application technique. For example, skipping the measuring step can leave you with a lash that feels uncomfortable all day. Using too much adhesive can also create a messy band that takes longer to set. The good news? You do not need professional-level skills to create a polished result.
You simply need to understand what causes the most common problems and know how to correct them before they ruin your makeup.
So, before your next lash application, keep this guide nearby and work through each step carefully.
Common Strip Lash Mistakes and How to Avoid Them
1. Choosing a Lash That Does Not Suit Your Eyes

One of the biggest Strip Lash Mistakes happens before you even open the adhesive. A lash can look gorgeous in its packaging yet feel completely wrong once you place it against your eye.
Your eye shape, natural lash length, eyelid space, and preferred makeup style all affect the final result.
How to avoid it
Start by thinking about the effect you want. Do you want subtle definition? Choose a shorter, lighter pair. Do you want lifted outer corners?
Try a flared or cat-eye design. Do you want maximum drama? A fuller volume pair may suit you better. However, do not choose the most dramatic style simply because it looks impressive in photos.
For more inspiration, explore 25 Best Strip Lashes for Every Makeup Style before making your choice.
2. Skipping the Measuring Step
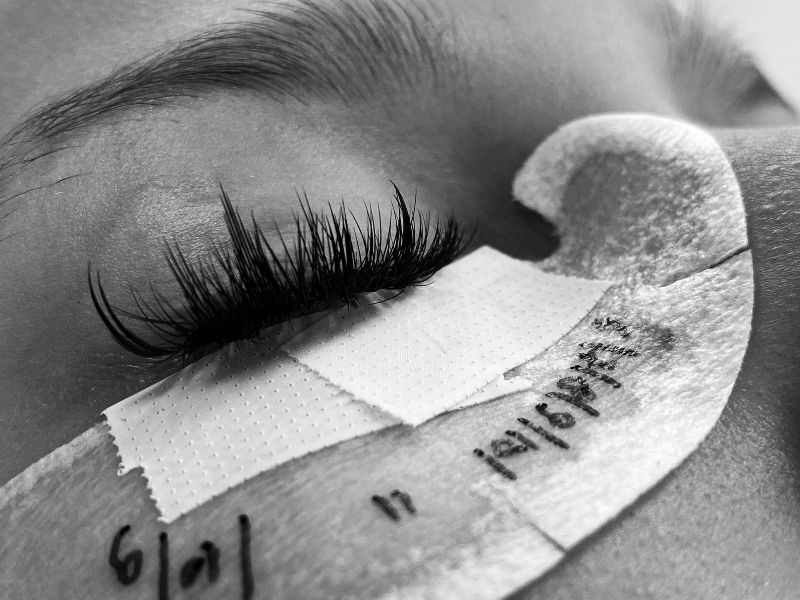
A strip lash rarely fits every eye perfectly straight from the package. If you skip measuring, the band may extend too far into your inner corner or stick beyond the outer edge. That extra length can make the lash feel uncomfortable. It can also cause the outer corner to lift during the day.
How to avoid it
Place the strip against your natural lash line before applying any glue. Look straight ahead. Check where the inner and outer edges sit. If the band extends too far, trim a small amount from the outer edge.
Take your time with this step because you can always trim more later. However, you cannot add the removed section back.
3. Trimming From the Wrong Side
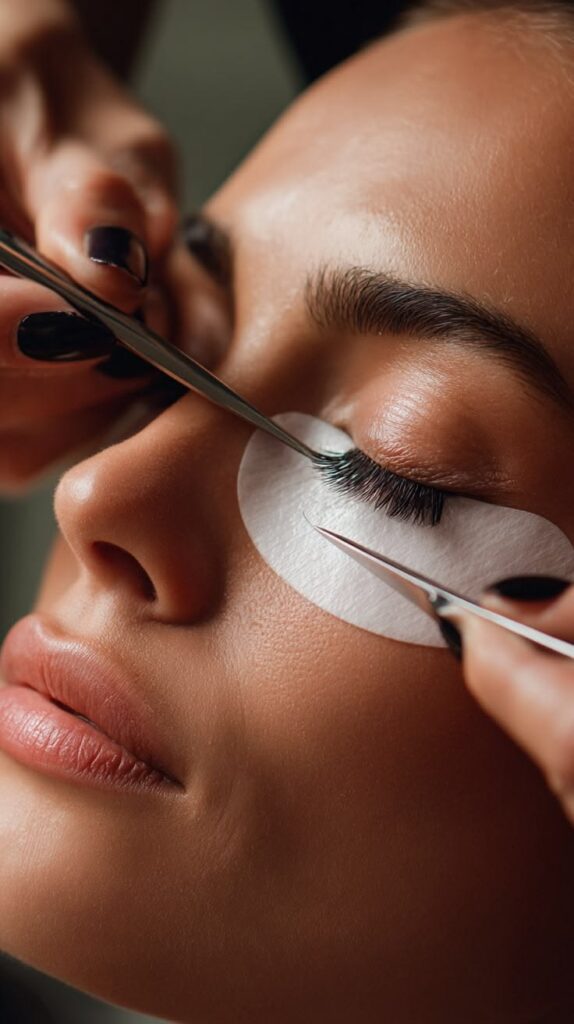
This mistake often happens when beginners want to shorten a lash quickly. Cutting from the inner corner can remove the shorter fibers designed to create a natural beginning. As a result, the lash may look strange when you place it near your tear duct.
How to avoid it
Trim from the outer edge whenever possible. Keep the shorter inner fibers intact. That approach helps the lash gradually increase in length across your eye.
For hooded eyes, placement matters even more because excess length can overwhelm the visible lid space.
If you want more professional lash inspiration for this eye shape, check out 15 Classic Lash Extensions for Hooded Eyes.
4. Applying Too Much Lash Glue
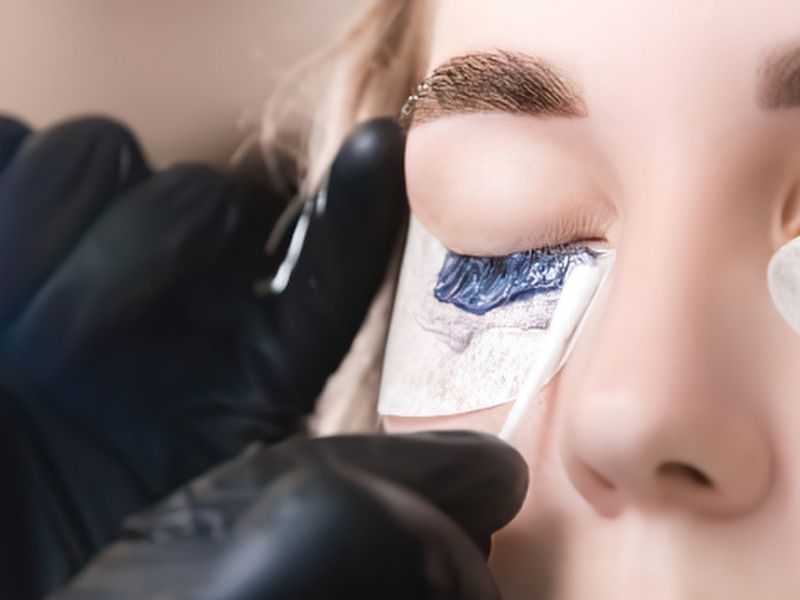
More adhesive does not automatically mean better hold. In fact, excessive glue can create several problems. The band may slide around.
The adhesive can become messy. You may also find it harder to position the lash accurately.
How to avoid it
Apply a thin, even layer along the lash band. Focus slightly more adhesive on the corners because those areas often lift first. Then wait for the glue to become tacky.
Do not rush straight from applying glue to placing the lash. That short waiting period gives you much more control.
5. Applying the Lash While the Glue Is Too Wet

Wet adhesive can move easily. That means the lash may slide upward, downward, or sideways after you place it. You may then spend several minutes trying to correct the position.
How to avoid it
Apply the adhesive. Then wait according to the adhesive manufacturer’s instructions. The glue should feel tacky rather than completely wet. Once it reaches that stage, place the lash. This small adjustment can make your application much easier.
6. Placing the Lash Too Far From Your Natural Lash Line
A visible gap between your natural lashes and the strip can make the false lash look obvious. Sometimes beginners place the strip too high because they fear getting it too close to their eye.
However, the goal involves positioning the band close to your natural lash line without placing it directly on the sensitive inner waterline.
How to avoid it
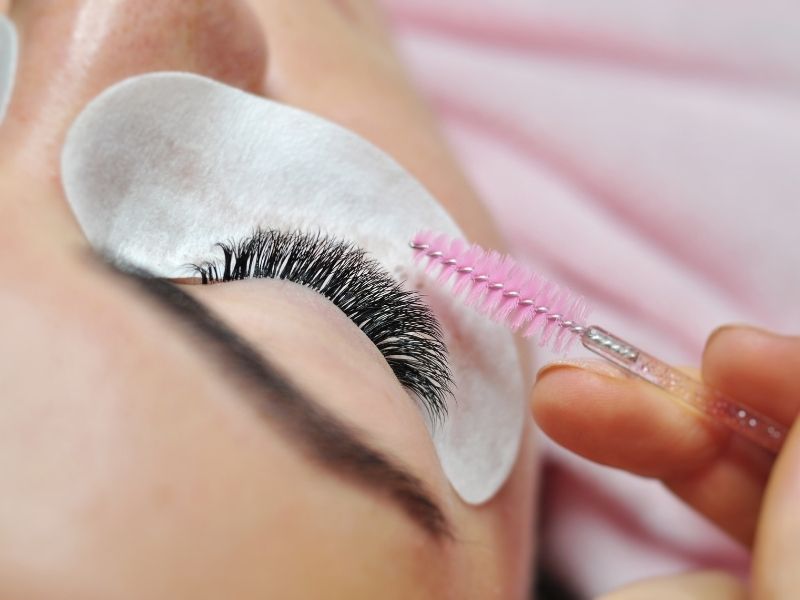
Look downward into a mirror. Start by placing the center. Then secure the outer corner. Finish with the inner corner. Use a lash applicator or clean tweezers to make tiny adjustments. Avoid repeatedly pulling the strip away once the adhesive begins setting.
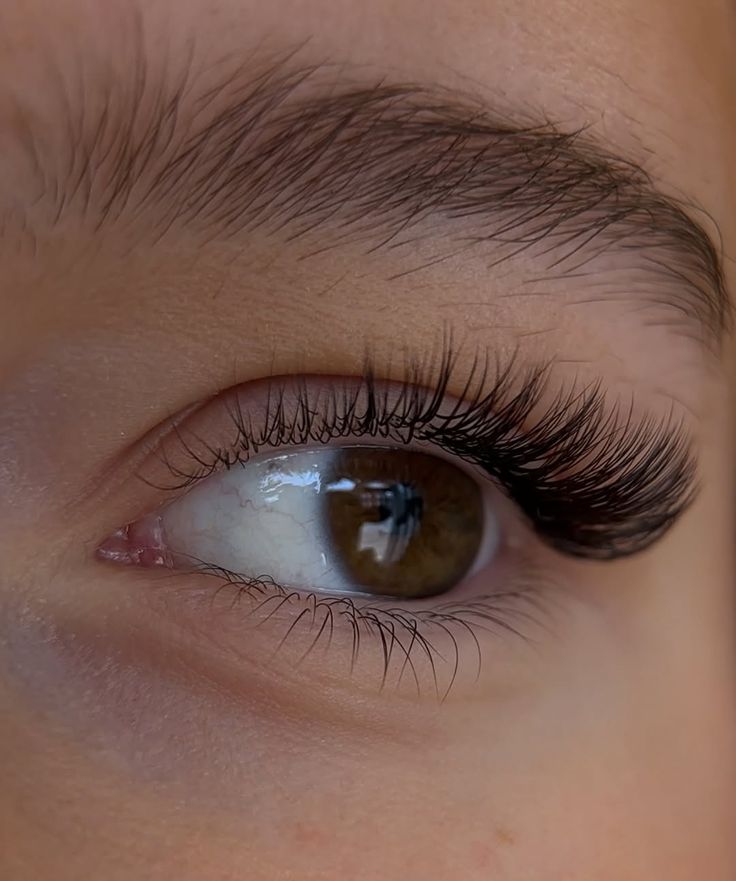
7. Starting With the Inner Corner
Many beginners naturally begin at the inner corner. That approach can make positioning more difficult. The center gives you a better reference point for balancing both sides.
How to avoid it
Place the middle section first. Once it sits correctly, press down the outer corner. Finally, secure the inner corner. This method gives you more control over the shape and placement.
If you prefer subtle styles, 10 Natural Classic Lash Extension Ideas for Everyday Wear offers useful inspiration for keeping your eye look understated.
8. Ignoring the Lash Band
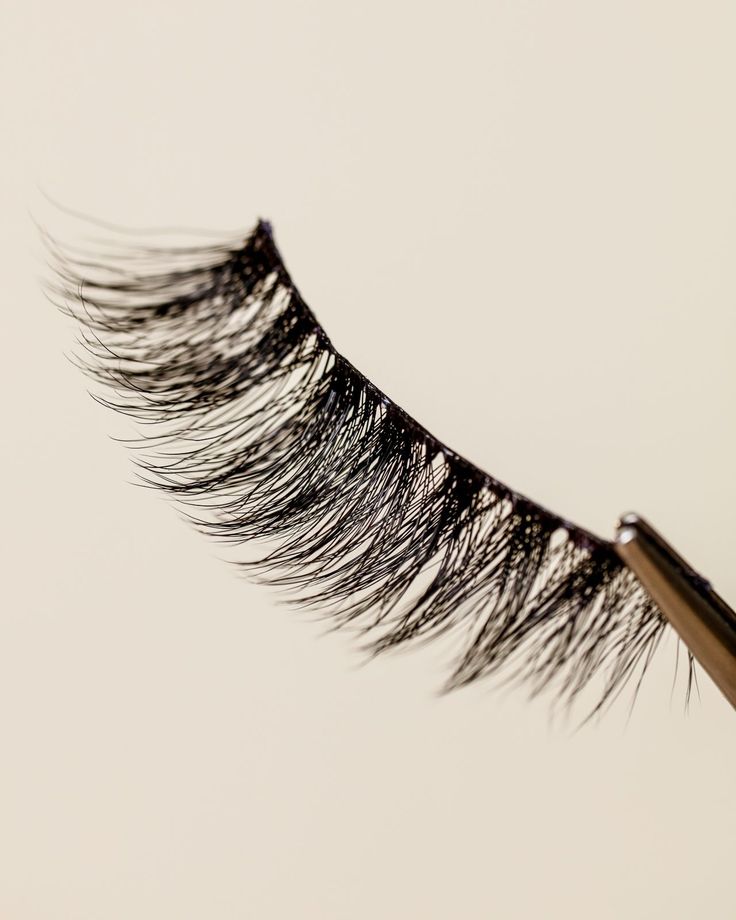
Not every lash band feels the same. Some bands feel soft and flexible. Others feel thicker and require more shaping before application. A stiff band may lift from the corners if it does not follow the curve of your eyelid.
How to avoid it
Before applying glue, gently bend the lash around your finger or makeup tool. Do not fold or crush it. The goal involves helping the band follow your natural eye curve. You can also look for thin or flexible bands if you struggle with rigid styles.
9. Failing to Let the Band Adjust to Your Eye
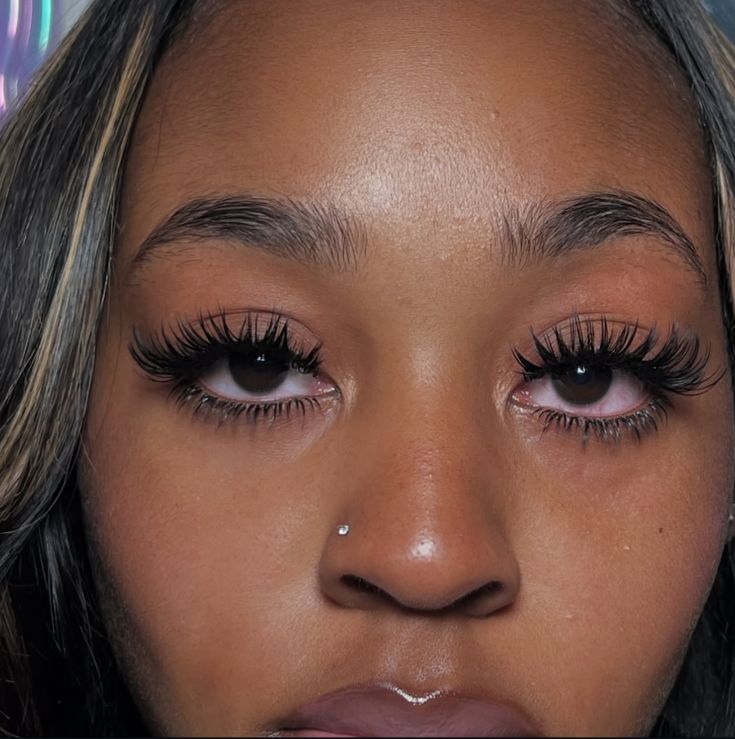
Every eye has a slightly different curve. A straight lash band may resist that curve. If you immediately apply it without preparing the strip, you may notice gaps at the corners.
How to avoid it
Hold the lash against your eye first. Gently curve it several times. Then measure and trim it. This simple preparation can help the band sit more naturally. It also gives you a chance to notice problems before adding adhesive.
10. Using the Wrong Lash for Your Makeup
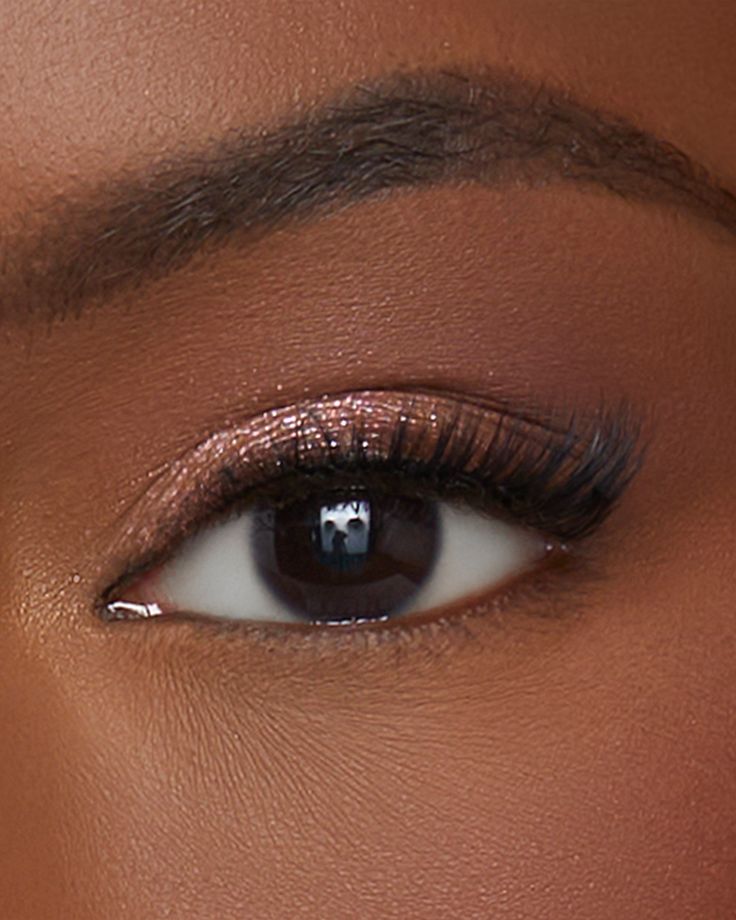
A dramatic lash can overpower a soft daytime makeup look. Likewise, a delicate lash may disappear when you create a full evening glam look. Therefore, consider the entire makeup look before choosing your pair.
How to avoid it
Match the lash intensity to your makeup. Soft blush and neutral eyeshadow pair beautifully with natural or wispy lashes. Smoky eyes can handle fuller volume. Minimal makeup can also look stunning with a subtle outer-corner lash.
If you love fuller styles, 20 Volume Lash Ideas for a Full, Fluffy Look can help you understand how different fullness levels affect the overall look.
11. Applying Mascara Too Heavily
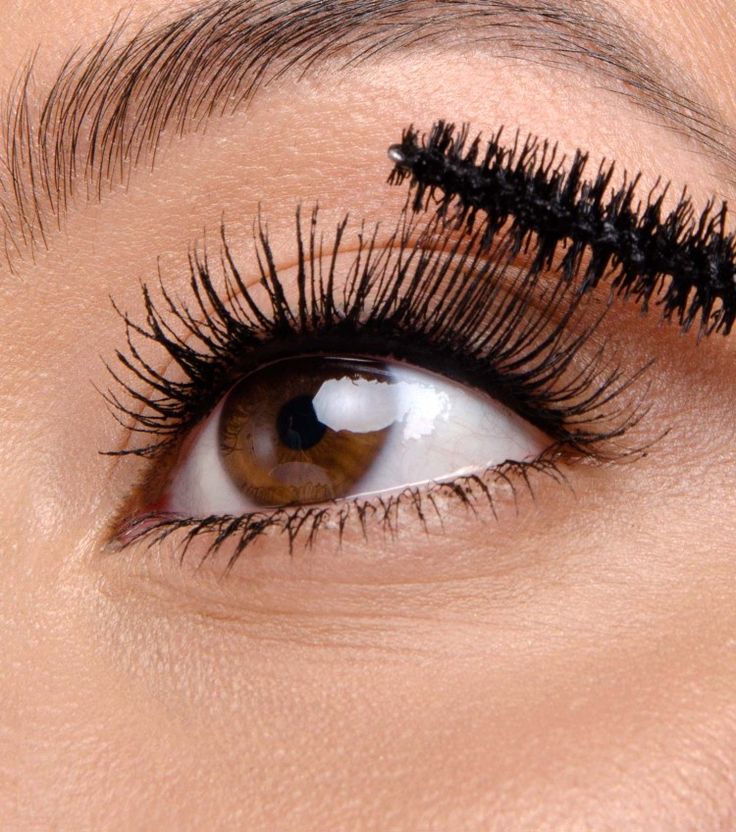
Mascara can help blend your natural lashes with strip lashes. However, applying several thick coats can make the result look clumpy. Heavy mascara may also make removing the lashes more difficult.
How to avoid it
Use a light coat when you need extra blending. Let it dry before applying the strip. Then gently press your natural lashes against the false fibers. You do not need several coats to create a seamless effect. A lighter approach often looks more polished.
12. Forgetting to Prepare the Eyelid
Oil, moisturizer, and makeup residue can interfere with lash adhesive. If the skin around your lash line feels slippery, the band may struggle to stay in place.
How to avoid it
Complete your skincare routine first. Allow products to absorb fully. Then clean away excess oil around the lash line before applying your lashes.
Avoid placing rich creams directly along the area where the adhesive needs to grip. Your preparation should leave the lash line clean and comfortable.
13. Applying Strip Lashes Over Heavy Eyeliner
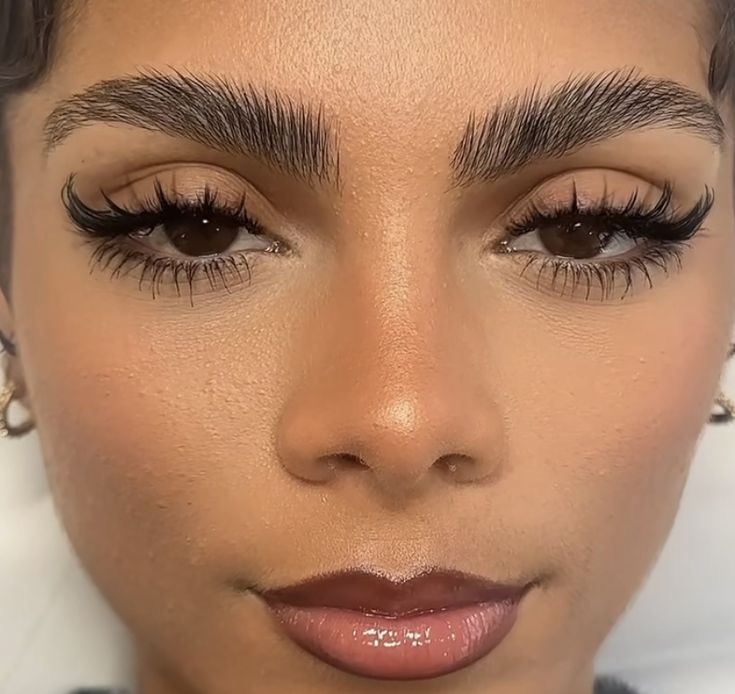
A thick eyeliner line can sometimes make positioning more difficult. You may struggle to tell exactly where your natural lash line ends. That uncertainty can result in an uneven placement.
How to avoid it
Keep your eyeliner relatively thin while learning. Apply the lash. Then add a little more liner afterward if you need to disguise the band. This technique gives you more control. It also helps you create a cleaner finish.
14. Pulling the Lash Into Place Repeatedly
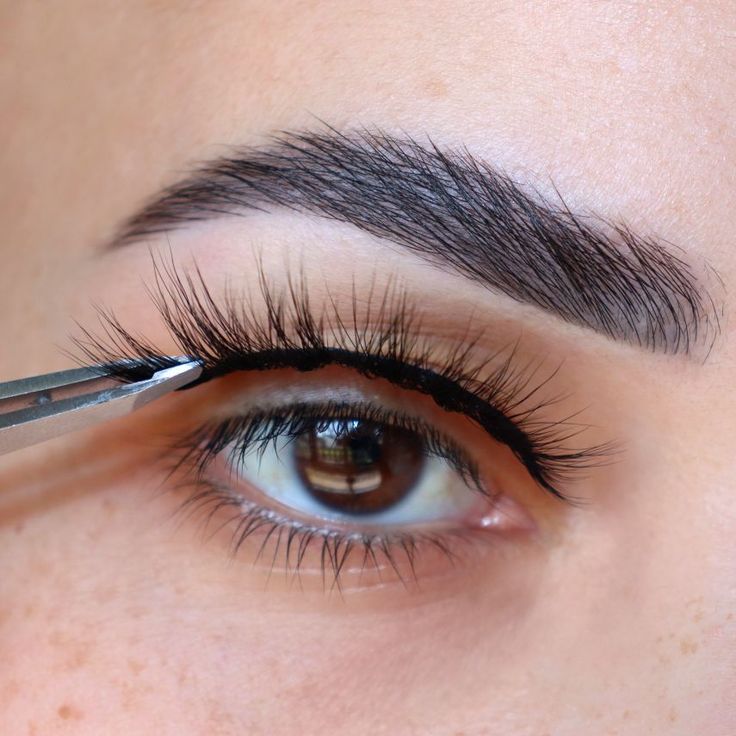
Constantly moving the strip can interfere with the adhesive. Once the glue becomes tacky, you have a limited window for adjustment. Repeatedly lifting and replacing the lash can also create adhesive buildup.
How to avoid it
Measure carefully before applying. Position the center first. Then secure both corners. If you notice a small mistake, make one controlled adjustment instead of repeatedly moving the entire strip. Practice will gradually improve your placement accuracy.
15. Forgetting to Check Both Eyes
You may think your lashes look perfect until you look at your face from a different angle. One strip may sit slightly higher. One outer corner may extend farther. The difference can become noticeable once you finish the rest of your makeup.
How to avoid it
Check both eyes from the front. Then look slightly upward and downward. Compare the outer corners. You can make tiny adjustments before the adhesive fully sets. A compact mirror can make this process easier.
16. Choosing Heavy Lashes for a Long Day
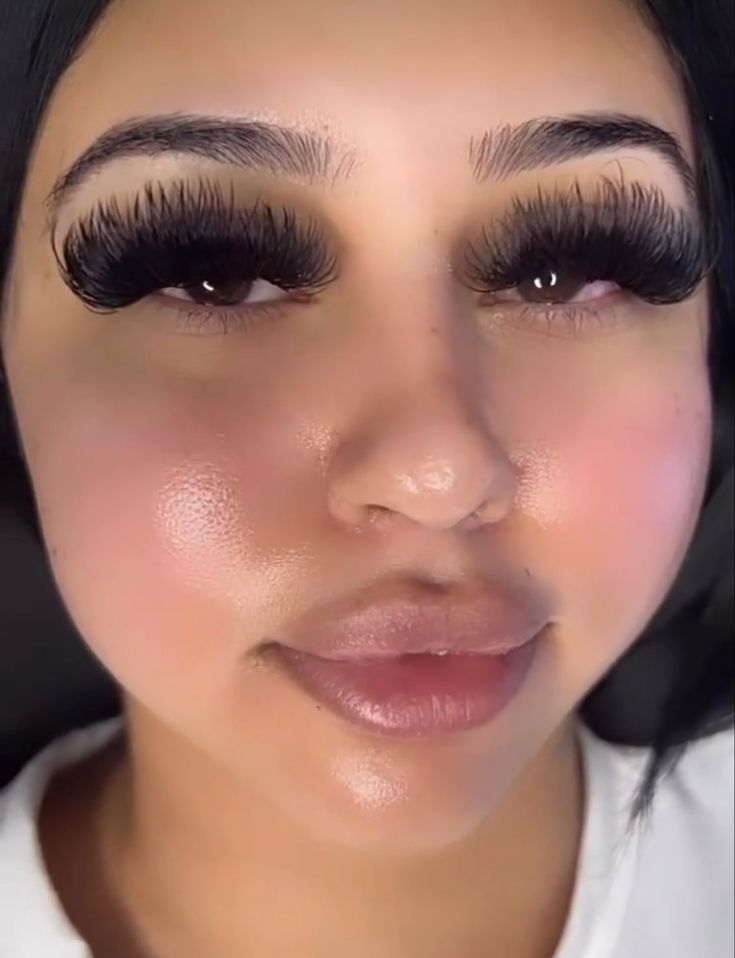
A dramatic lash may look beautiful for a short event. However, heavy fibers can feel uncomfortable after several hours.
You may start touching your eyes or adjusting the corners. Those habits can make your lashes look worse.
How to avoid it
Choose lightweight lashes for workdays, weddings, travel, and long events.
For more ideas, explore 12 Best Strip Lashes for Beginners. Beginners often find lighter styles easier to control. They also tend to feel less noticeable during wear.
17. Rubbing Your Eyes While Wearing Strip Lashes
Eye rubbing can loosen the strip. It can also irritate the delicate skin around your eyes. You may not even realize how often you touch your face throughout the day.
How to avoid it
Keep your hands away from your eyes whenever possible. If your eyes feel irritated, remove the lashes rather than repeatedly rubbing them. Comfort should always come before keeping a lash look intact.
18. Removing Strip Lashes Too Quickly
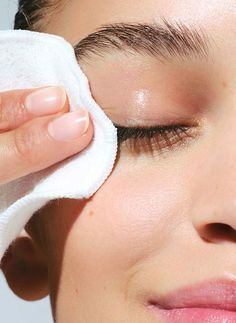
The application may look perfect, but removal can cause problems if you rush. Pulling the strip away forcefully can tug your natural lashes. That habit can leave your lash line feeling sore.
How to avoid it
Start at the outer corner. Gently loosen the band. Then slowly peel it toward the inner corner.
If the adhesive resists, stop pulling and give it more time to loosen. Your natural lashes deserve the same care during removal as they receive during application.
20. Treating Strip Lashes Like Lash Extensions
Strip lashes and professional extensions work very differently. A strip lash gives you temporary enhancement. Professional extensions attach individual extensions to natural lashes and require ongoing maintenance. Understanding that distinction can prevent unrealistic expectations.
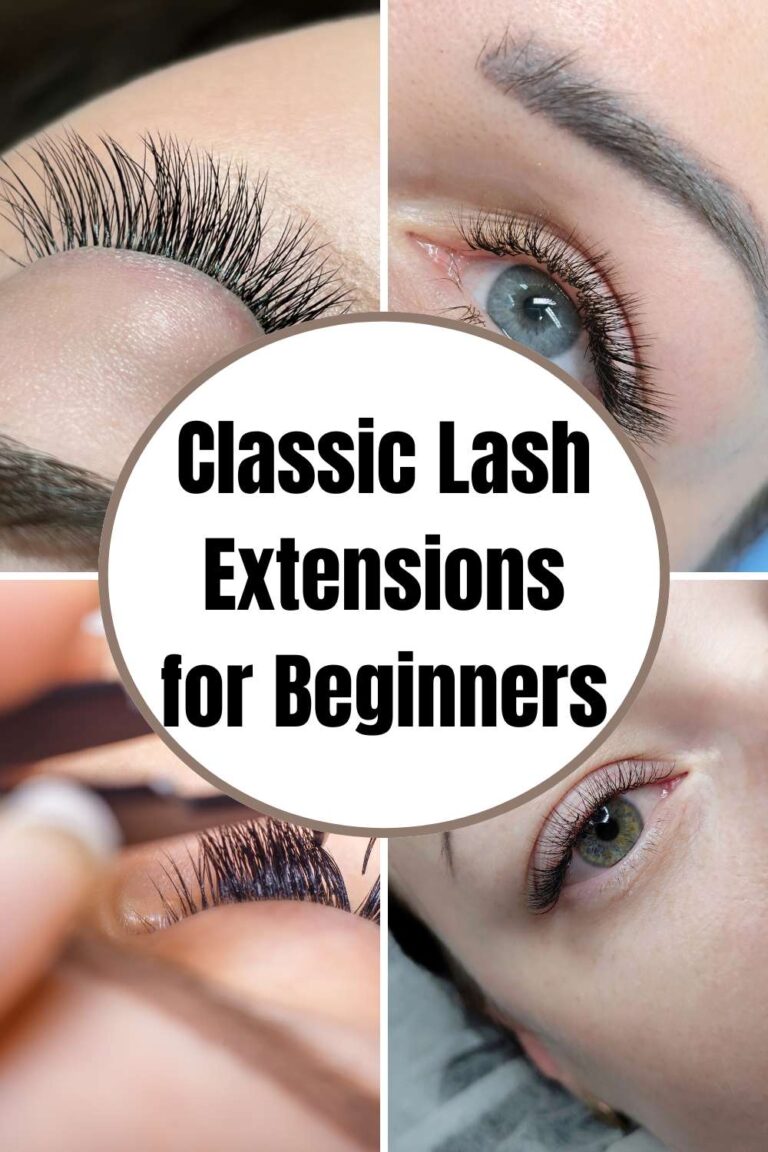
For a deeper comparison, Classic Lash Extensions for Beginners: Everything You Need to Know explains how professional classic extensions work.
You should also remember that extensions follow the natural lash growth and shedding cycle. That means extension care requires a different routine from temporary strip lashes.
21. Ignoring Professional Lash Aftercare Principles
Although strip lashes do not require the same maintenance as extensions, good lash habits still matter. Avoid rubbing. Handle the eye area gently.
Keep products away from the lash line when necessary. Remove eye makeup carefully. For professional extensions, early care plays an important role.
You can read Lash Extension Aftercare: The First 24 Hours Matter to understand why the first day requires extra attention.
Those principles can also remind you to treat your natural lashes gently when wearing temporary strips.
22. Ignoring How Often You Wear Heavy Lash Styles
Frequent use does not automatically create a problem. However, repeated rough application and removal can place unnecessary stress on your natural lashes. Your technique matters more than simply counting how many times you wear strip lashes.
How to avoid it
Remove each pair gently. Avoid sleeping in temporary strip lashes unless the product specifically supports overnight wear. Give your natural lashes a break whenever they feel irritated.
If you use professional extensions instead, your maintenance schedule follows a different pattern. How Often Should You Get a Lash Fill? explains why regular fills matter for extension wearers.
23. Mixing Up a Lash Fill With a New Set
A strip lash does not require a salon-style fill. You remove it and apply a fresh pair when you want another look. Professional extensions work differently because your natural lashes continue growing and shedding. That distinction becomes important if you switch between strip lashes and extensions.
Know What Your Lashes Need
A professional fill replaces extensions that have shed or grown out. A full set starts the extension application process again.
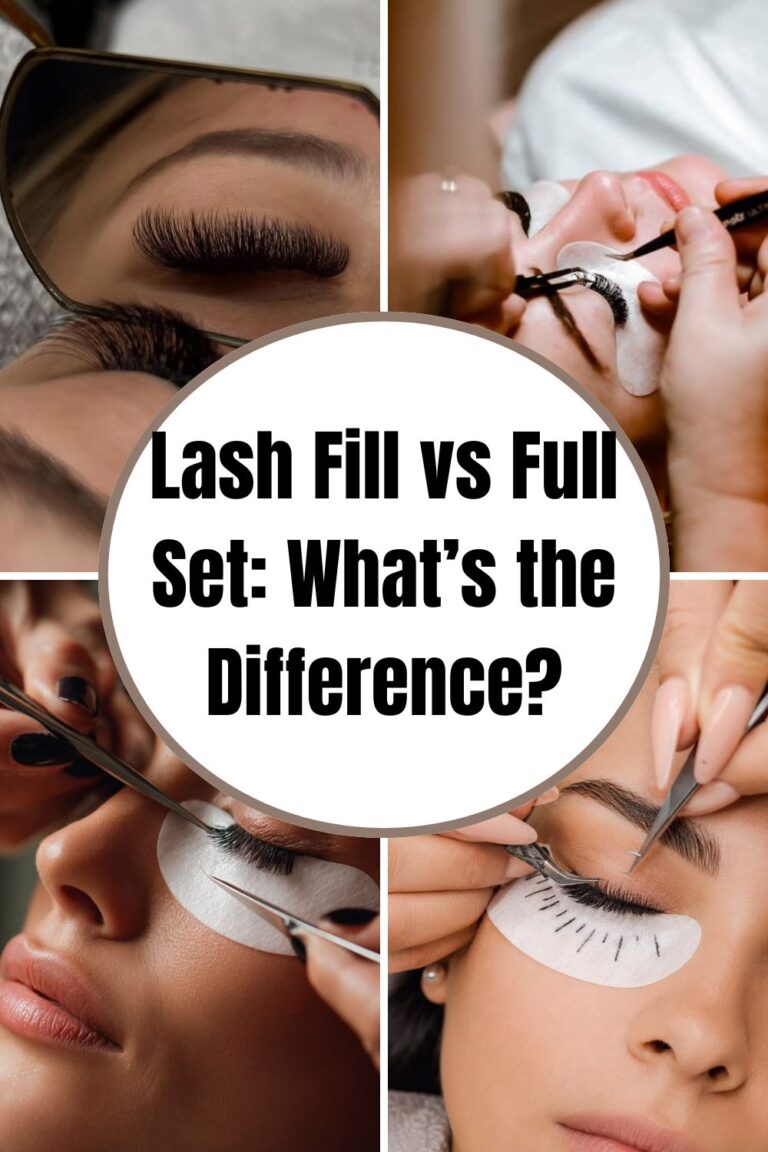
If you want to understand that difference, Lash Fill vs Full Set: What’s the Difference? explains the two services. Keeping those concepts separate can help you make better lash-care decisions.
24. Buying the Cheapest Pair Without Checking the Band
Price alone cannot tell you whether a strip lash will work for you. A low-cost pair may look beautiful. However, the band may feel stiff or difficult to shape. Another pair may cost slightly more but offer a softer, more comfortable band.
How to avoid it
Look at the construction. Check the lash length. Consider the band thickness. Think about how often you plan to wear the pair.
For affordable options that still aim for a polished appearance, 10 Best Drugstore Strip Lashes That Look Expensive can give you ideas.
Final Thoughts
Strip lashes can make your makeup look polished, lifted, and complete, but the application process matters. Most Strip Lash Mistakes come from rushing through simple steps.
Measure before applying. Trim carefully. Choose a lash that suits your eye shape. Use a thin adhesive layer.
Wait for the glue to become tacky. Place the center first. Then secure both corners. Finally, remove your lashes gently and store reusable pairs properly.
You also do not need the most dramatic style to create an impressive result. A lightweight natural pair can look just as beautiful as a bold volume lash when it complements your features.
With practice, your application will become faster and more precise. More importantly, you will start recognizing which lash shapes, bands, and finishes actually work for you.
The goal is not perfection on your first attempt. The goal is finding a simple routine that gives you comfortable, polished lashes without unnecessary frustration.
4 Comments