
How to Apply Lash Clusters at Home for a Seamless Finish
Disclosure: Some of the links in this post are affiliate links. This means if you click on the link and purchase an item, I will receive an affiliate commission at no extra cost to you.
Applying lash clusters at home can feel tricky when you want a soft, seamless finish without uneven gaps or bulky lashes. You might struggle to position each cluster correctly, choose the right lengths, or keep your lashes looking balanced. The good news is that learning how to apply lash clusters doesn’t have to be complicated. With the right products and a little patience, you can create a beautiful lash look that complements your natural eyes.
Before getting started, gather your lash clusters, a suitable lash adhesive, tweezers, and any removal product recommended by the manufacturer. Choosing different cluster lengths can also help you create a more customized appearance. If you’re new to false lashes, explore our guide to Strip Lashes 101: Everything Beginners Need to Know to understand the basics of temporary lash application.
In this tutorial, you’ll learn how to prepare your natural lashes, select suitable cluster lengths, and position each cluster for a more even finish. You’ll also discover how to avoid common mistakes, care for your lashes, and remove clusters safely. Remember that products designed for temporary strip lashes aren’t necessarily suitable for under-lash clusters. Always follow the specific product instructions and keep adhesive away from your eyes.
With these simple techniques, you can build confidence and achieve a customized lash look at home without unnecessary frustration.
What You’ll Need to Apply Lash Clusters
Before you begin, gather your supplies and set them within easy reach. Having everything ready makes the application process less stressful, especially when you’re new to lash clusters.
You’ll need:
- Lash clusters: Choose a style with different lengths if you want a customized look.
- Cluster-specific adhesive: Use a product designed for your intended application method.
- Lash tweezers: These help you handle and position individual clusters precisely.
- A clean mirror: Good lighting makes it easier to see your natural lash line.
- A compatible remover: Choose a remover recommended for your specific adhesive.
- A clean lash brush: This helps separate the fibers and maintain their shape.
If you’re still exploring temporary lash options, read Strip Lashes 101: Everything Beginners Need to Know to understand the basics of false lashes.
Remember that lash clusters and traditional strip lashes use different application techniques. Always follow the product instructions, especially when applying clusters underneath your natural lashes.
How to Apply Lash Clusters at Home for a Seamless Finish
Step 1: Choose the Right Lash Clusters
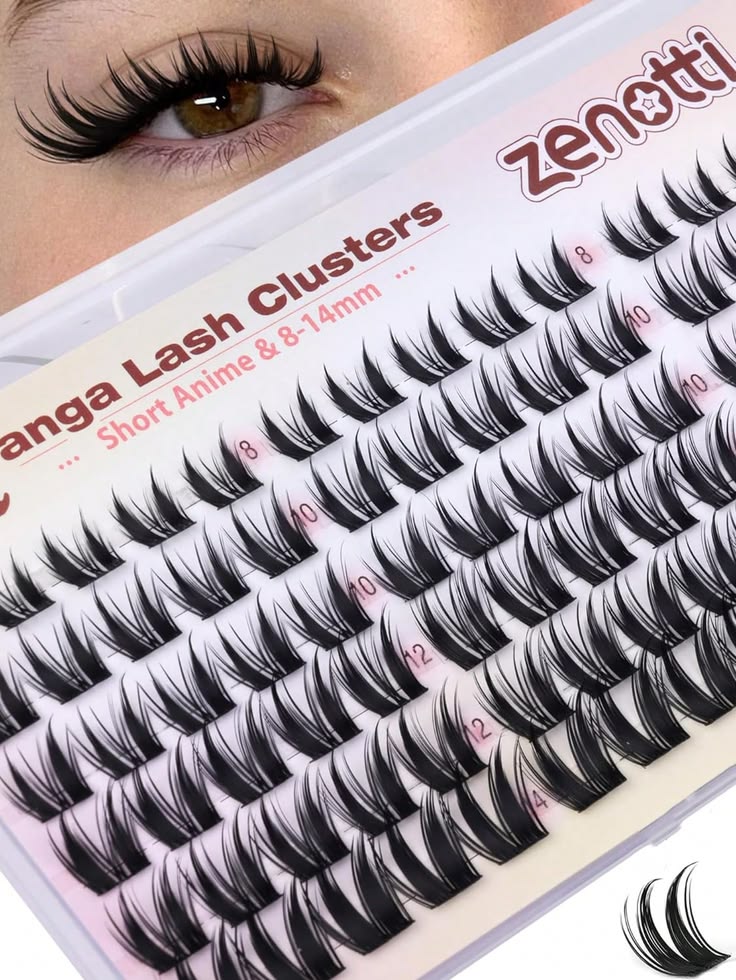
Your choice of lash clusters can make a noticeable difference in the final result. Some clusters create a soft, natural appearance, while others add fullness and drama.
For your first attempt, choose lightweight clusters with a flexible base. They’re generally easier to handle than heavier styles.
You can also select clusters in different lengths to customize your lash shape. Shorter clusters often work well toward the inner corners, while longer ones can emphasize the outer corners.
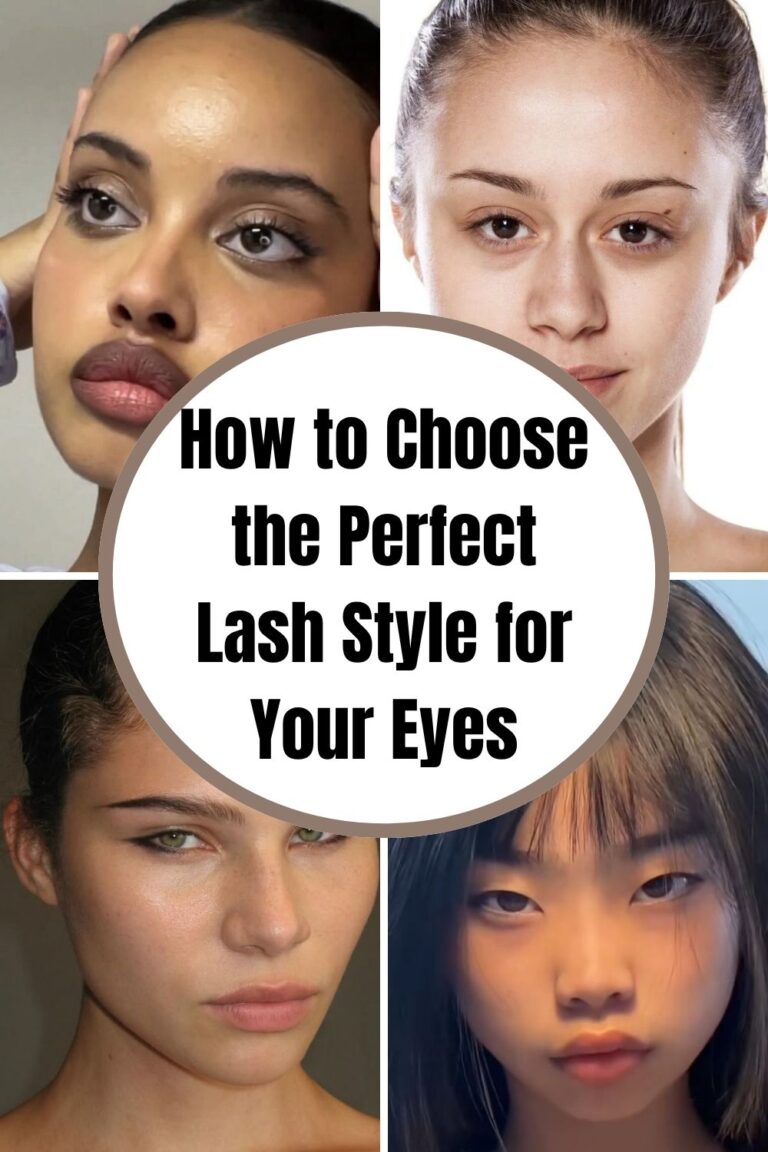
Still deciding which lash style suits you? Explore 25 Lash Styles That Flatter Every Eye Shape for inspiration.
Next, consider your eye shape and preferred makeup style. A dramatic cluster pattern may not suit everyone, so choose a design that feels comfortable and balanced.
Step 2: Prepare Your Natural Lashes
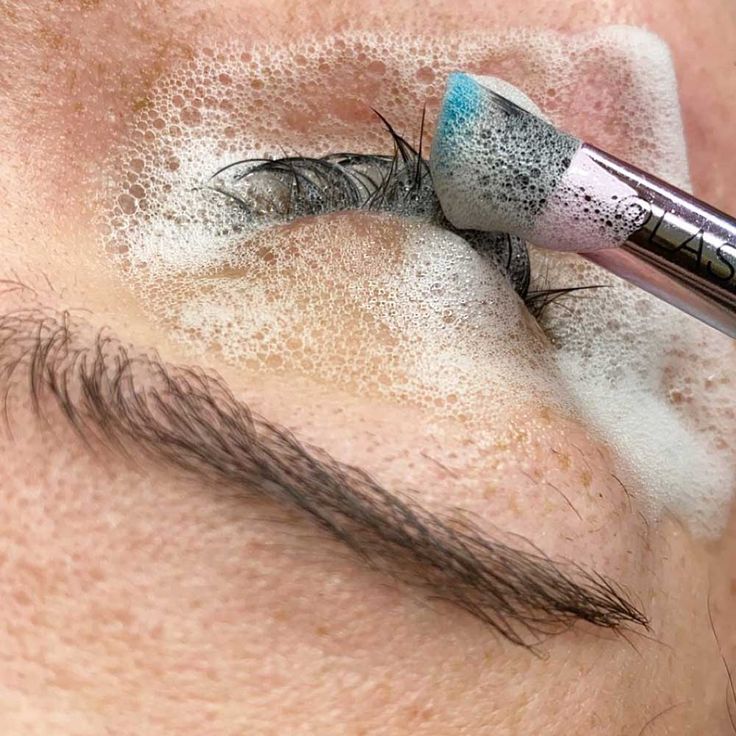
Clean preparation helps remove makeup residue and oils that could interfere with your adhesive.
Start by washing your hands thoroughly. Then, gently clean your eyelids and natural lashes using an appropriate, eye-safe cleanser.
Make sure your lashes are completely dry before proceeding. Avoid applying oily skincare products directly around the lash line immediately before application.
Next, brush your natural lashes gently with a clean spoolie. This helps separate them and makes it easier to see where the clusters should sit.
If you’re comparing different temporary lash products, check out Magnetic Lashes vs Glue-On Lashes: Which Is Better? to understand how their application methods differ.
Important: If you have irritated eyes, an eye infection, or damaged skin around your eyelids, postpone application until the area has recovered.
Step 3: Plan Your Lash Map
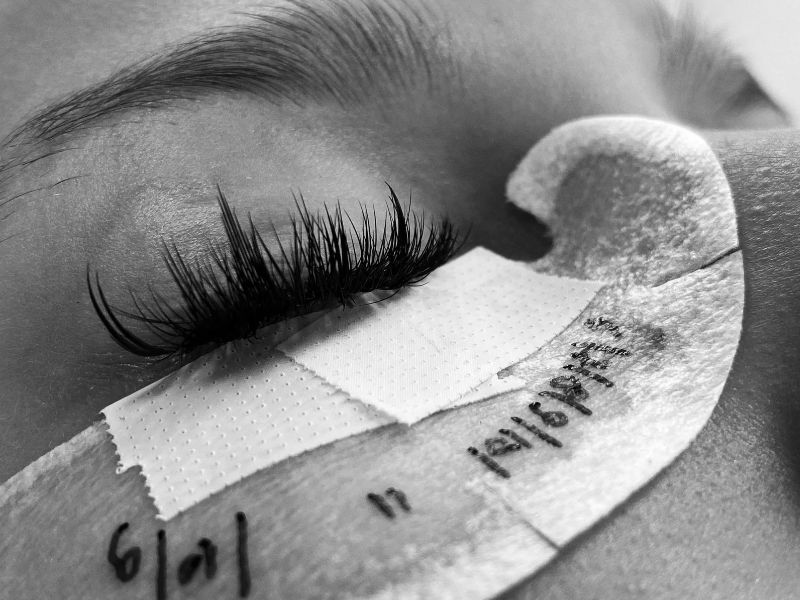
A lash map helps you decide where each cluster will go before you begin. This prevents random placement and makes it easier to create a balanced look.
For a natural effect, you might use shorter clusters near the inner corners, medium lengths across the center, and slightly longer clusters toward the outer corners. Adjust the pattern to suit your eye shape and the lengths available in your kit.
You can also try a rounded pattern with the longest clusters near the center. This creates a different effect from an elongated outer-corner design.
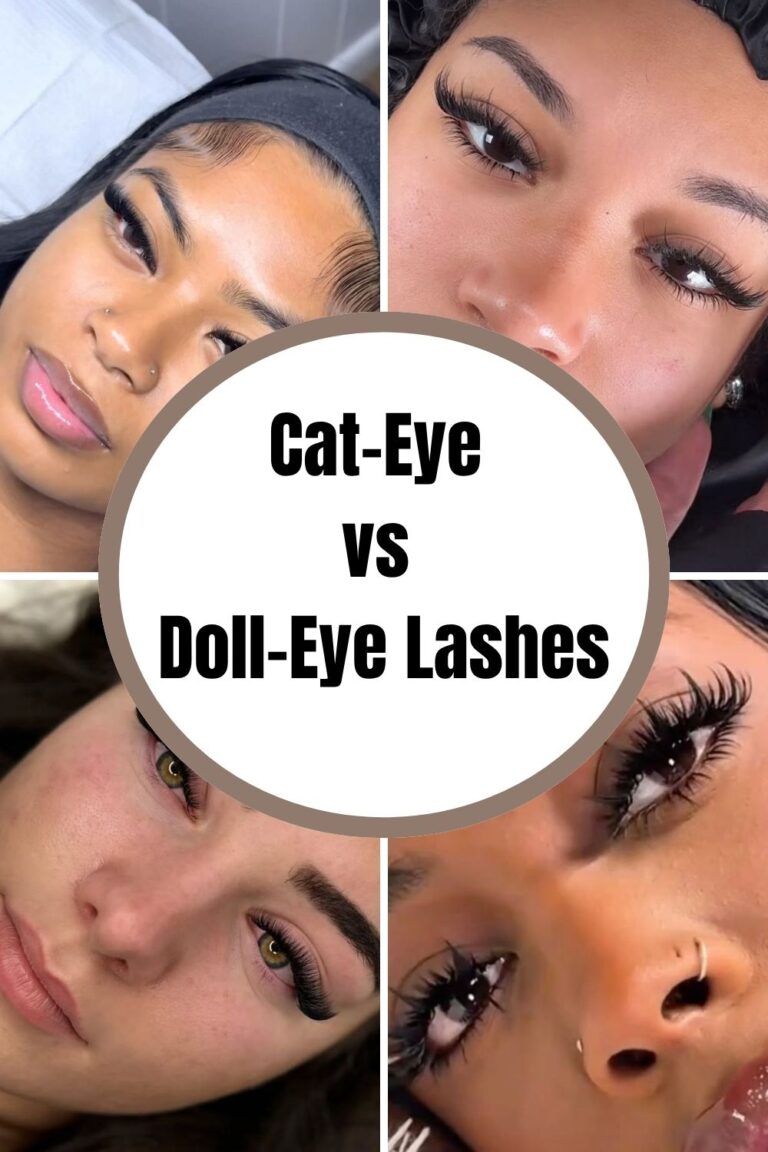
For more inspiration, explore Cat-Eye vs Doll-Eye Lashes: Which Fits Your Eye Shape?.
If you have hooded eyes, you may prefer a pattern that doesn’t feel too heavy around the outer corners. Our guide to 11 Best Lash Styles for Hooded Eyes offers more ideas.
Step 4: Select the Appropriate Adhesive
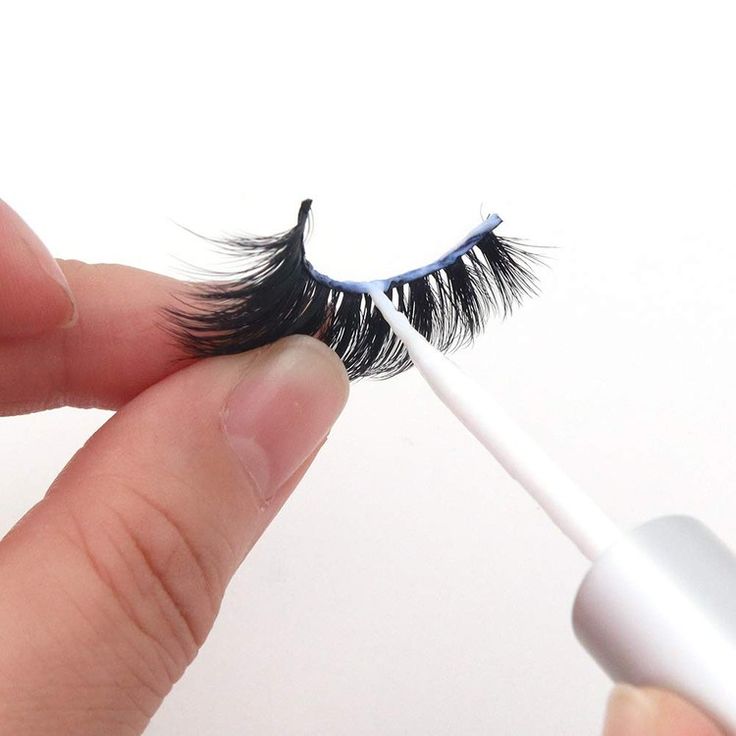
Choosing the correct adhesive is essential for comfortable application. Different lash products are designed for different placements and wear times.
Read the packaging carefully before using any adhesive. Follow the manufacturer’s directions for the intended application method, drying time, and removal process.
Never assume that ordinary strip lash glue is suitable for under-lash application. Likewise, professional extension adhesive should not be substituted for a temporary cluster-lash product.
Avoid getting adhesive into your eyes or placing it directly on your waterline. If a product causes burning or irritation, stop using it and follow the manufacturer’s guidance.
If you want to understand another popular lash treatment, read Lash Lift 101: Everything Beginners Need to Know.
Step 5: Practice Handling the Clusters
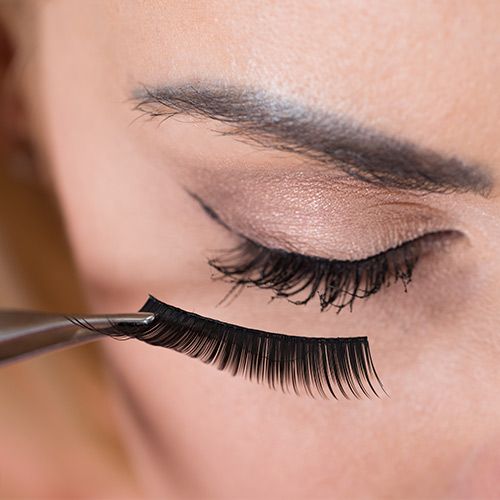
Before applying adhesive, practise picking up individual clusters with your tweezers. Hold each cluster gently near its base without crushing the fibers.
Try placing the clusters on a clean practice surface first. This gives you time to become familiar with their size, shape, and flexibility.
Avoid gripping the delicate lash fibers too tightly. Doing so can distort their shape and make the final result look uneven.
Once you’re comfortable handling them, arrange the clusters in the order you’ll use them. Keep the shorter and longer sections separate to avoid confusion during application.
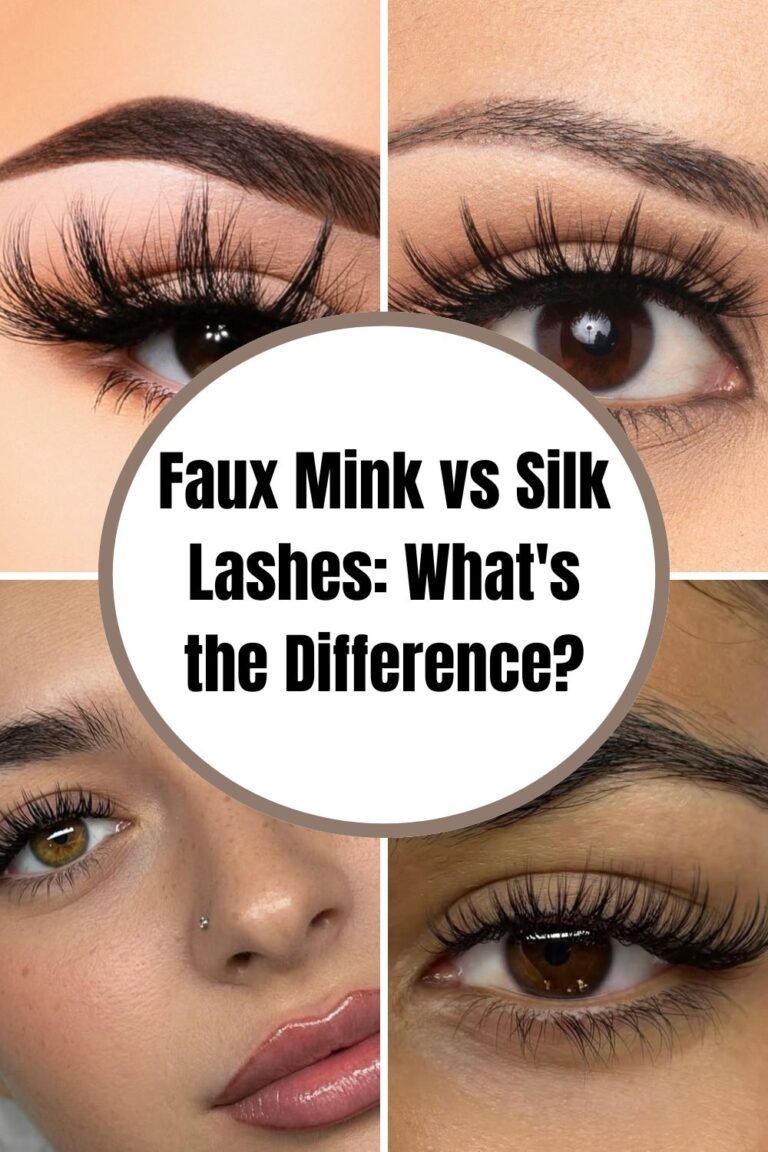
For another perspective on lash materials, explore Faux Mink vs Silk Lashes: What’s the Difference?.
Step 6: Apply the Clusters According to the Product Instructions
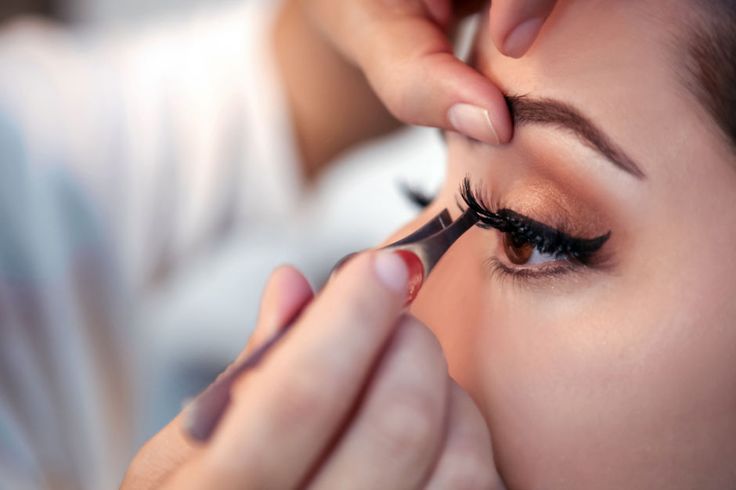
Now you’re ready to begin the application process. Follow the instructions supplied with your particular cluster system, since placement and adhesive requirements vary between products.
If you’re using a system designed for placement beneath the natural lashes, apply it only as directed. Keep the adhesive away from the waterline, eyelid skin, and eye itself.
For systems intended for placement above the natural lash line, position the clusters according to their specific instructions instead.
Work slowly and avoid applying excessive adhesive. Too much product can create a bulky appearance and make removal more difficult.
If you experience discomfort, don’t continue just to finish the look. Remove the product according to its instructions if it can be done safely.
You may also enjoy Classic vs Hybrid Lashes: Which Looks More Natural? for inspiration when choosing between softer and fuller lash aesthetics.
Step 7: Place Each Cluster Carefully
Start with one cluster and position it where your planned lash map indicates. Use your tweezers to make small adjustments rather than moving it repeatedly.
Continue with the remaining clusters, leaving enough space to avoid overcrowding. The aim is to create a balanced appearance without forcing too many clusters into a small area.
Check the placement as you progress. This makes it easier to notice gaps or uneven lengths before completing the entire look.
Remember that your two eyes may differ slightly in shape. Focus on creating a harmonious result instead of forcing both sides to look perfectly identical.
For additional style ideas, browse 15 Classic Lash Extensions for Hooded Eyes and 15 Hybrid Lash Extension Ideas You’ll Want to Screenshot.
These articles focus on professional extensions, but their different shapes can inspire the look you want to achieve with temporary clusters.
Step 8: Check for Gaps and Uneven Placement
Once you’ve finished placing the clusters, examine your lashes in a well-lit mirror. Look straight ahead, then turn your face slightly to check the overall balance.
If you notice gaps, first determine whether they’re caused by your chosen lash map or misplaced clusters. Avoid adding extra lashes simply to make the set look fuller.
Too many clusters can create unnecessary weight and an uncomfortable feeling. Sometimes, a simpler arrangement looks more natural and polished.
You should also check that no cluster is poking your eyelid or irritating your eye. Never ignore pain, persistent itching, redness, or a feeling that something is trapped in your eye.
For a softer, textured appearance, explore 25 Wispy Lash Extension Ideas for a Soft Glam Look.
You can also compare Wet Look vs Wispy Lashes: Which Trend Is Right for You? for ideas about different lash finishes.
Step 9: Blend the Clusters With Your Makeup
Once the adhesive has set according to its instructions, assess how the clusters work with the rest of your makeup.
A thin line of eyeliner can help create a more defined lash line when appropriate. Keep the application light if you want your clusters to remain the main feature.
Avoid adding mascara automatically, especially when you’re wearing reusable clusters. Some formulas can leave residue, affect the fibers, or make cleaning more difficult.
If you choose to use mascara, check that it’s compatible with your lash products and apply it sparingly.
For everyday inspiration, see 10 Natural Classic Lash Extension Ideas for Everyday Wear.
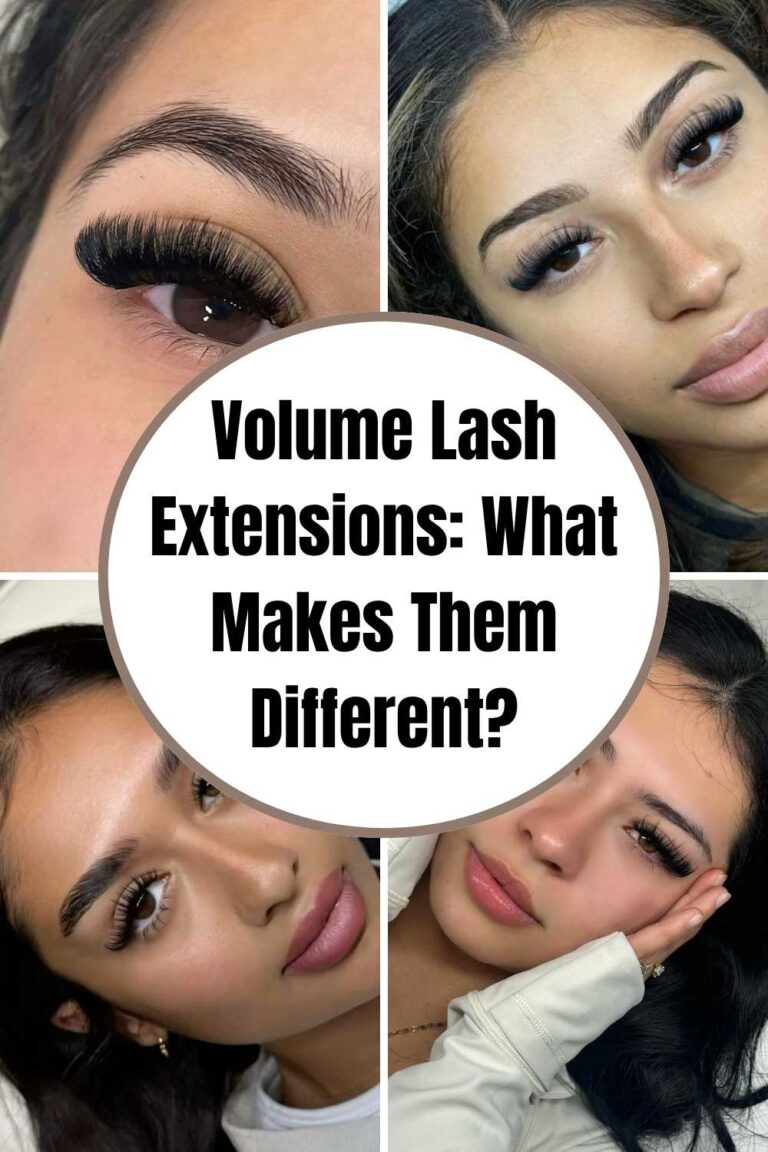
If you prefer a more dramatic finish, 20 Volume Lash Ideas for a Full, Fluffy Look can help you explore fuller lash aesthetics.
Remember that professional volume extensions require different techniques from temporary cluster lashes.
Common Lash Cluster Mistakes
Even when you follow the instructions, a few mistakes can affect your results. Thankfully, you can prevent many of them with careful preparation.
Using too many clusters: Overcrowding can make your lashes look heavy. Start with fewer clusters and follow the product’s recommended application method.
Choosing inconsistent lengths: Random lengths can create an uneven appearance. Plan your lash map before beginning.
Applying excessive adhesive: Too much glue can cause buildup and complicate removal. Use only the amount specified by the manufacturer.
Ignoring discomfort: Stinging, pain, or persistent irritation shouldn’t be treated as a normal part of application. Stop if these symptoms occur.
Pulling clusters off: Tugging can damage your natural lashes. Always use the appropriate removal method.
For more general lash care advice, read 10 Mistakes That Make Lash Extensions Fall Out Faster.
Although that article focuses on professional extensions, gentle handling is also important when caring for your natural lashes.
Remove Lash Clusters Safely
Proper removal helps protect your natural lashes and the delicate skin around your eyes.
First, identify the adhesive used for your cluster system. Follow the manufacturer’s instructions and choose only a remover designed to work with that product.
Allow the remover to work for the recommended amount of time. Never pull, twist, or force clusters away from your natural lashes.
If the clusters don’t release easily, stop and follow the product’s additional removal guidance. Seek professional assistance if you cannot remove them safely.
Avoid using household oils or other improvised products unless the manufacturer specifically confirms they’re suitable. Keep all removers away from your eyes.
If you experience eye pain, vision changes, significant swelling, or persistent redness, seek prompt medical attention.
You can learn more about caring for professional lash extensions in Lash Extension Aftercare: The First 24 Hours Matter.
Care for Your Natural Lashes After Removal
After removing the clusters, gently cleanse your eyelids and lashes with an appropriate eye-safe cleanser. Follow the instructions for any remaining adhesive residue.
Use a clean spoolie to brush your natural lashes gently once they’re clean and dry. Avoid rubbing your eyes or pulling at individual lashes.
Give your lashes a break if they feel tender or irritated. If discomfort continues, avoid further applications until the problem has been assessed.
You don’t need expensive products to maintain healthy-looking natural lashes. Gentle cleansing, careful makeup removal, and avoiding unnecessary pulling can help reduce preventable damage.
For more information about natural lash care, read How to Grow Longer Natural Lashes: A Beginner’s Guide.
You can also explore 15 Habits That Can Help Your Natural Lashes Thrive for additional everyday care ideas.
Final Thoughts
Learning how to apply lash clusters at home takes patience, but you don’t need complicated techniques to get started. Choose a suitable product, prepare your natural lashes carefully, and plan your placement before beginning.
Most importantly, prioritize comfort and eye safety over achieving maximum fullness. Never continue an application that causes pain or irritation, and always remove clusters using the appropriate method.
With practice, you’ll become more confident choosing cluster lengths and creating a balanced look. Start with a simple design, take your time, and adjust your technique as you learn what works best for you.